The Beauty of Bokeh with Fajar Kristiono
Bokeh is one of the most popular topics in photography. Whether it’s online, in magazines or on YouTube, professionals and hobbyists alike have been sharing their know-hows on the subject since the first photos were taken, probably.
But what is bokeh?
Pronounced “bo-kay”, the word propelled into use in the photography world in a 1997 issue of Photo Techniques magazine. It’s a Japanese word that literally translates to “blur” or “out of focus”.
Technically speaking it is the out-of-focus, “blurry”, parts of the image rendered by a camera lens – not the blur itself, or the amount of blur in the foreground or the background of a subject.
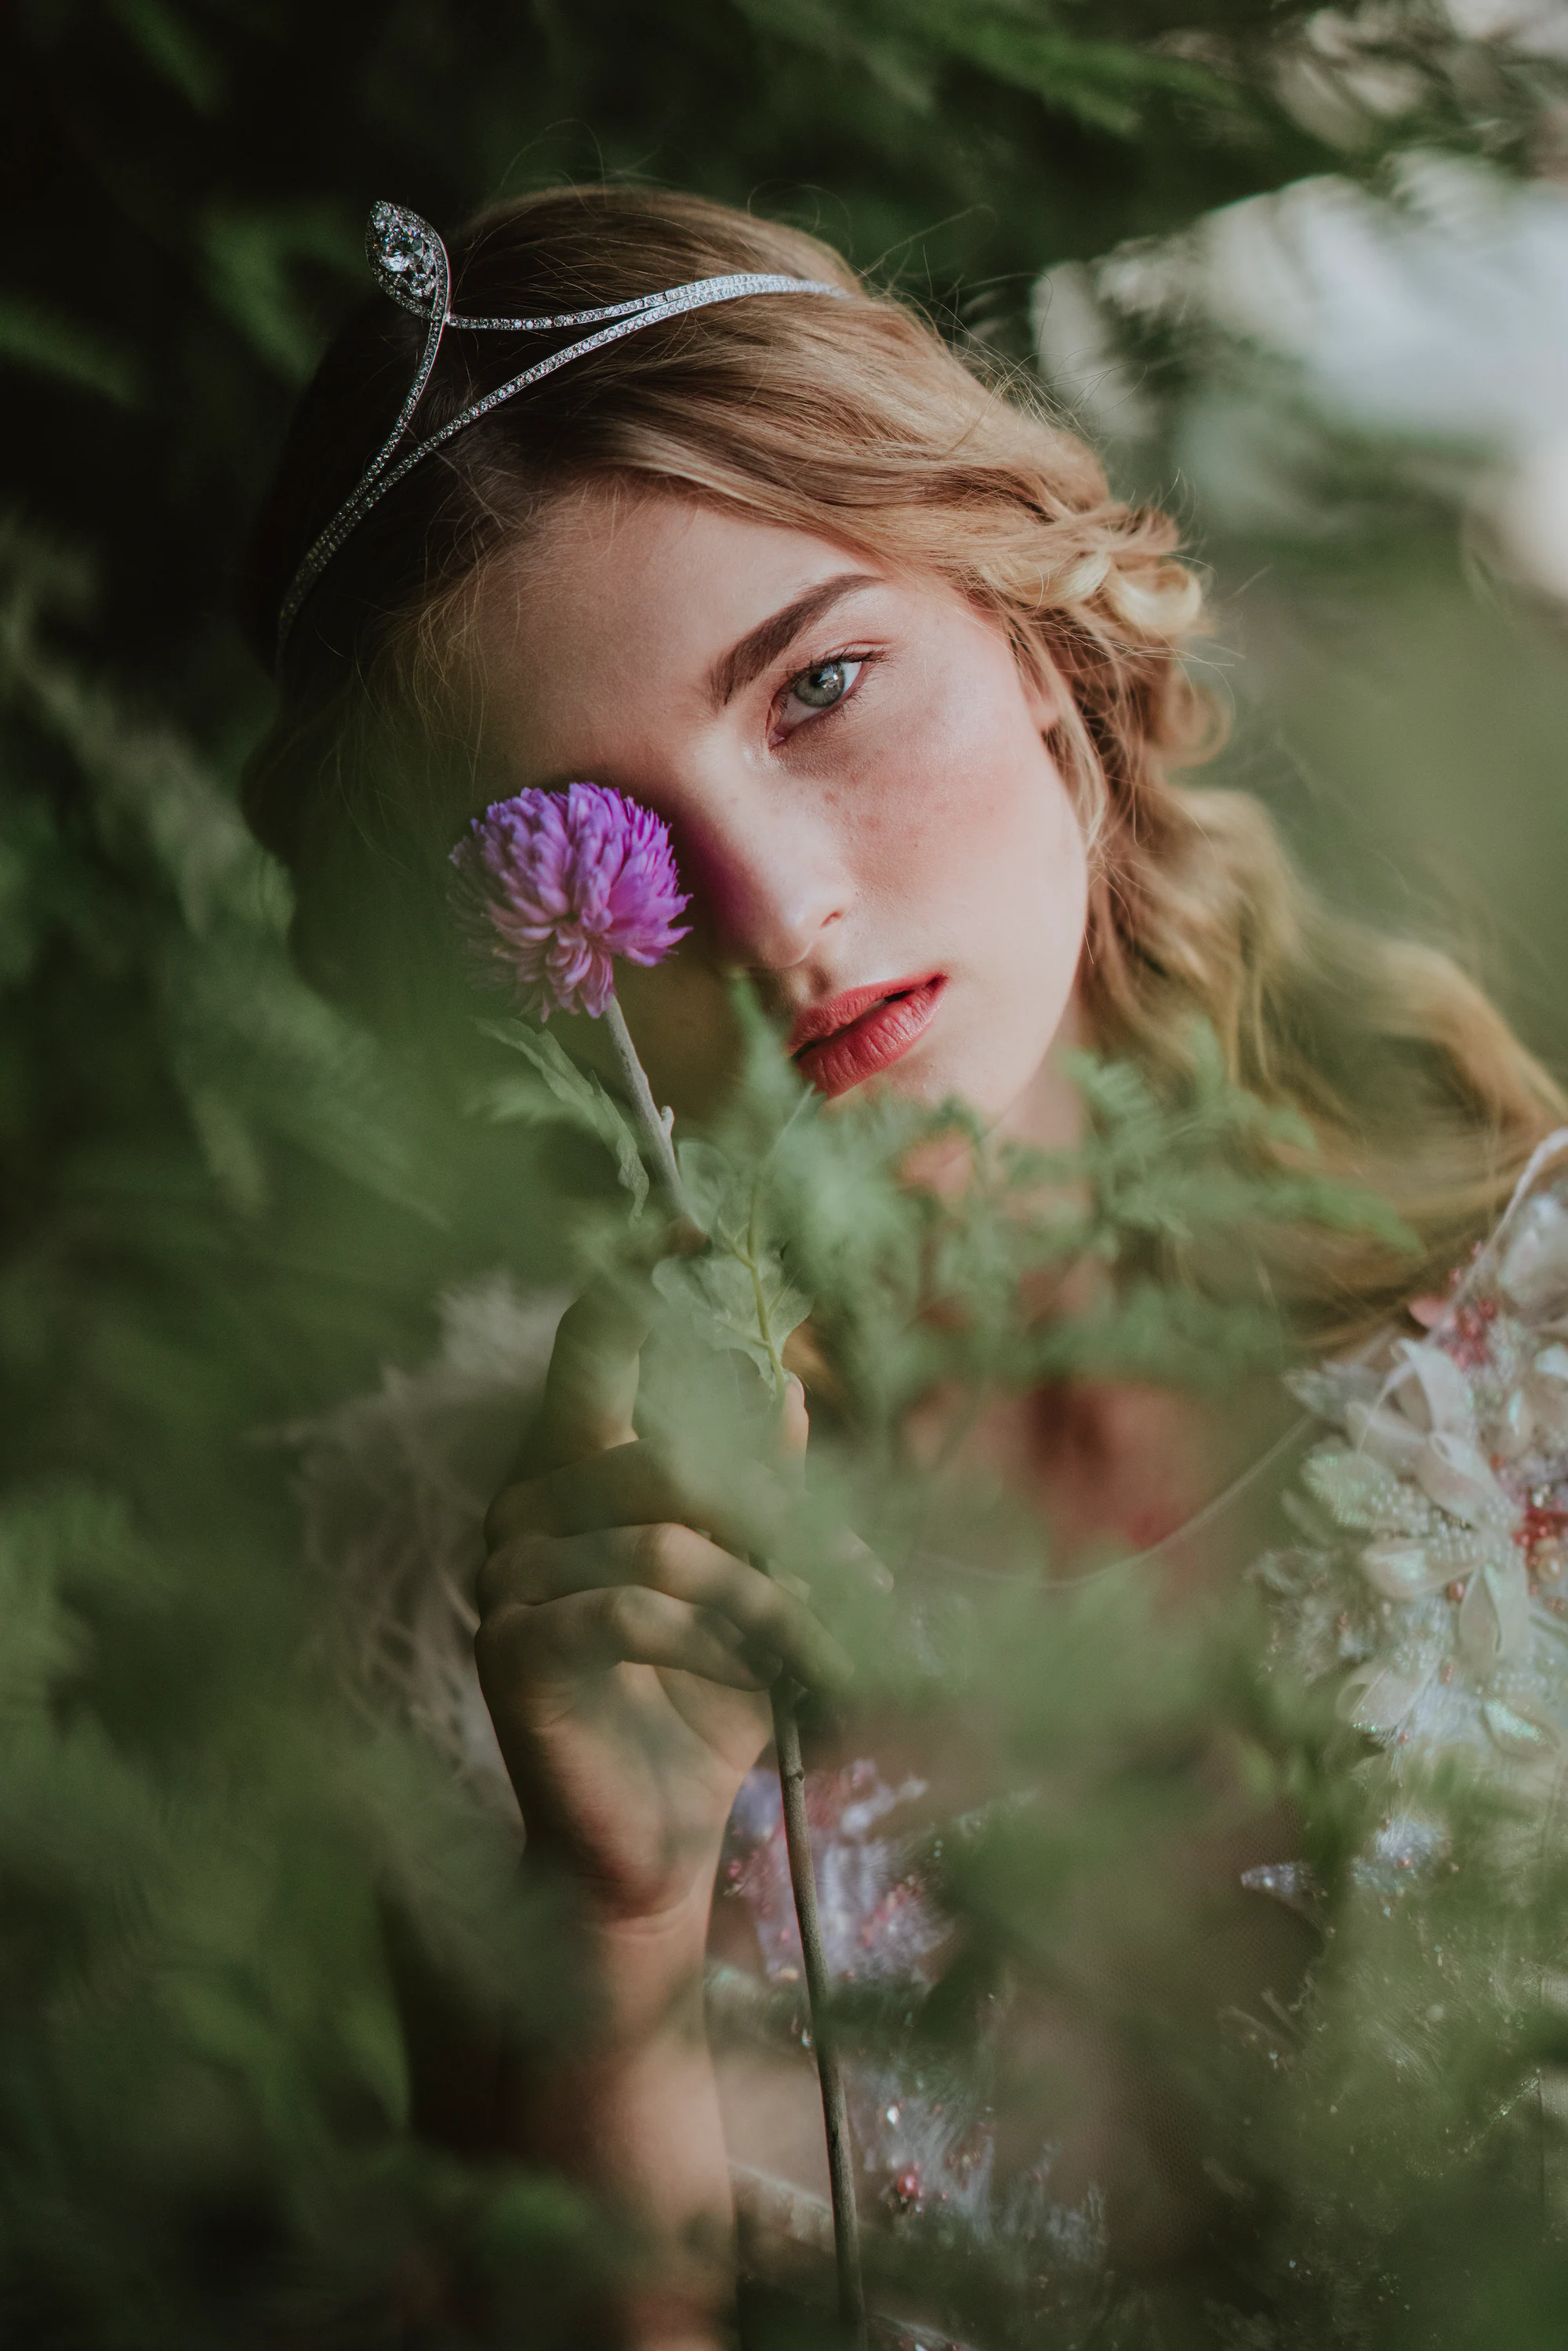
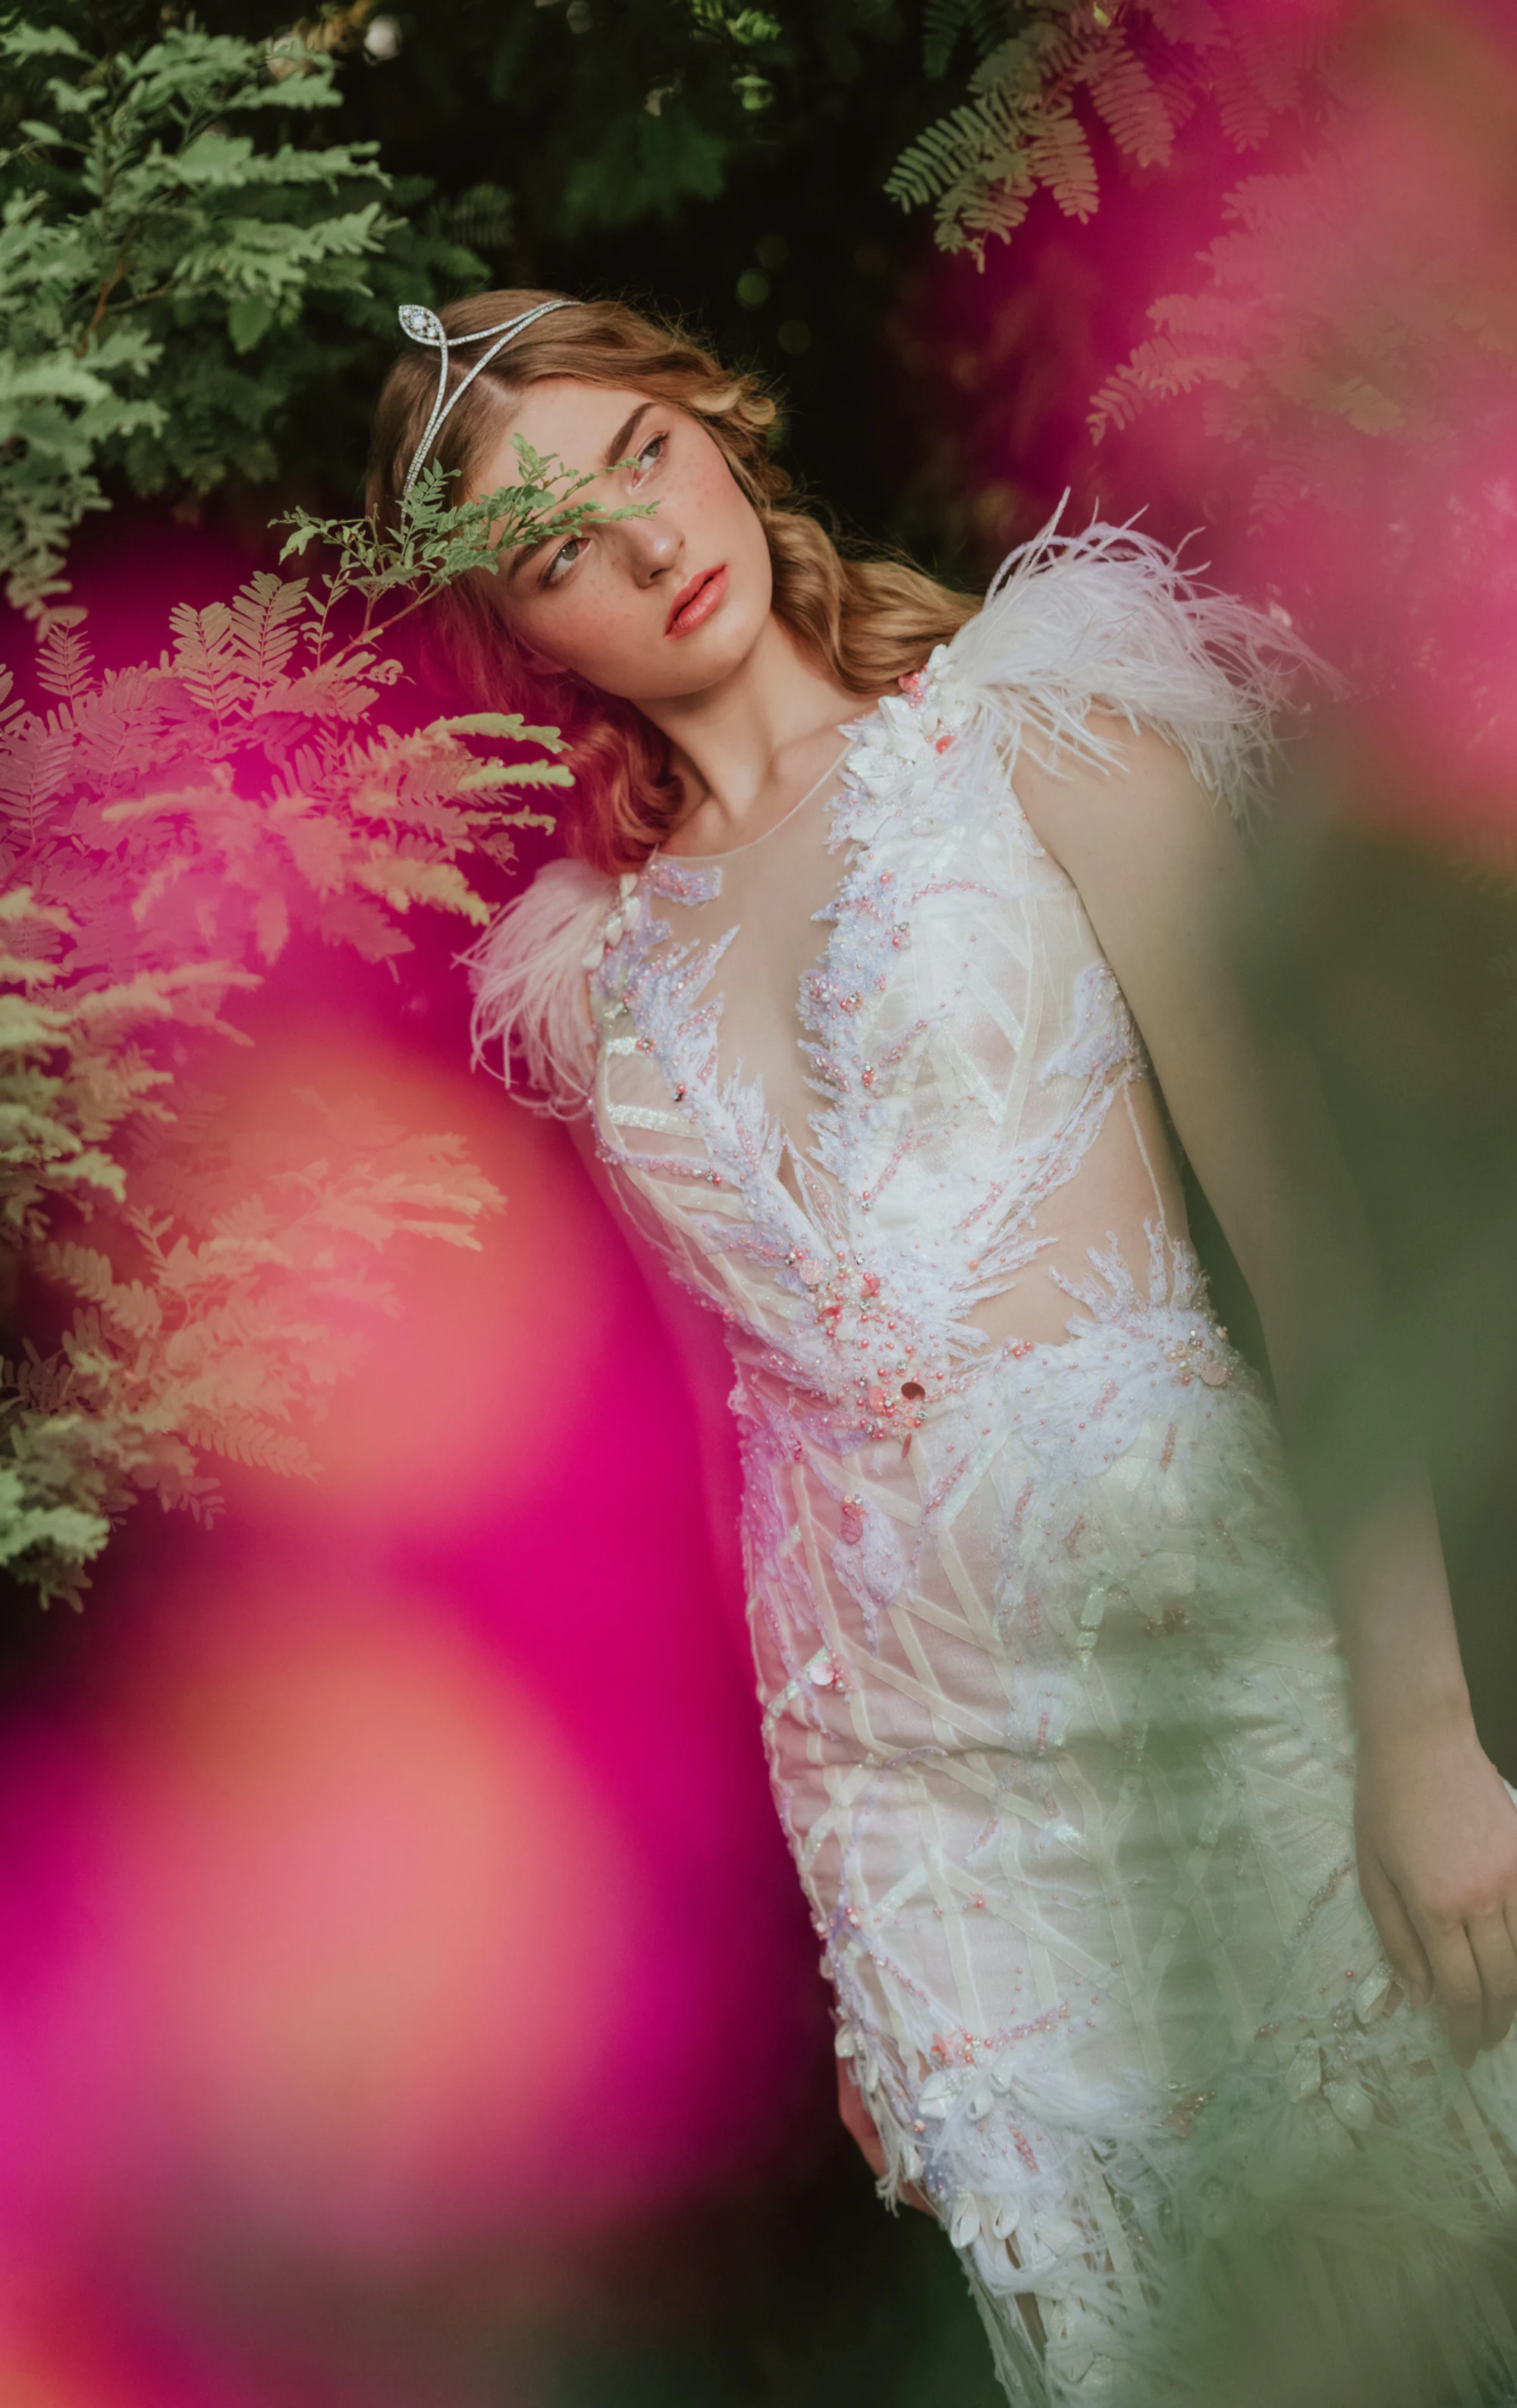
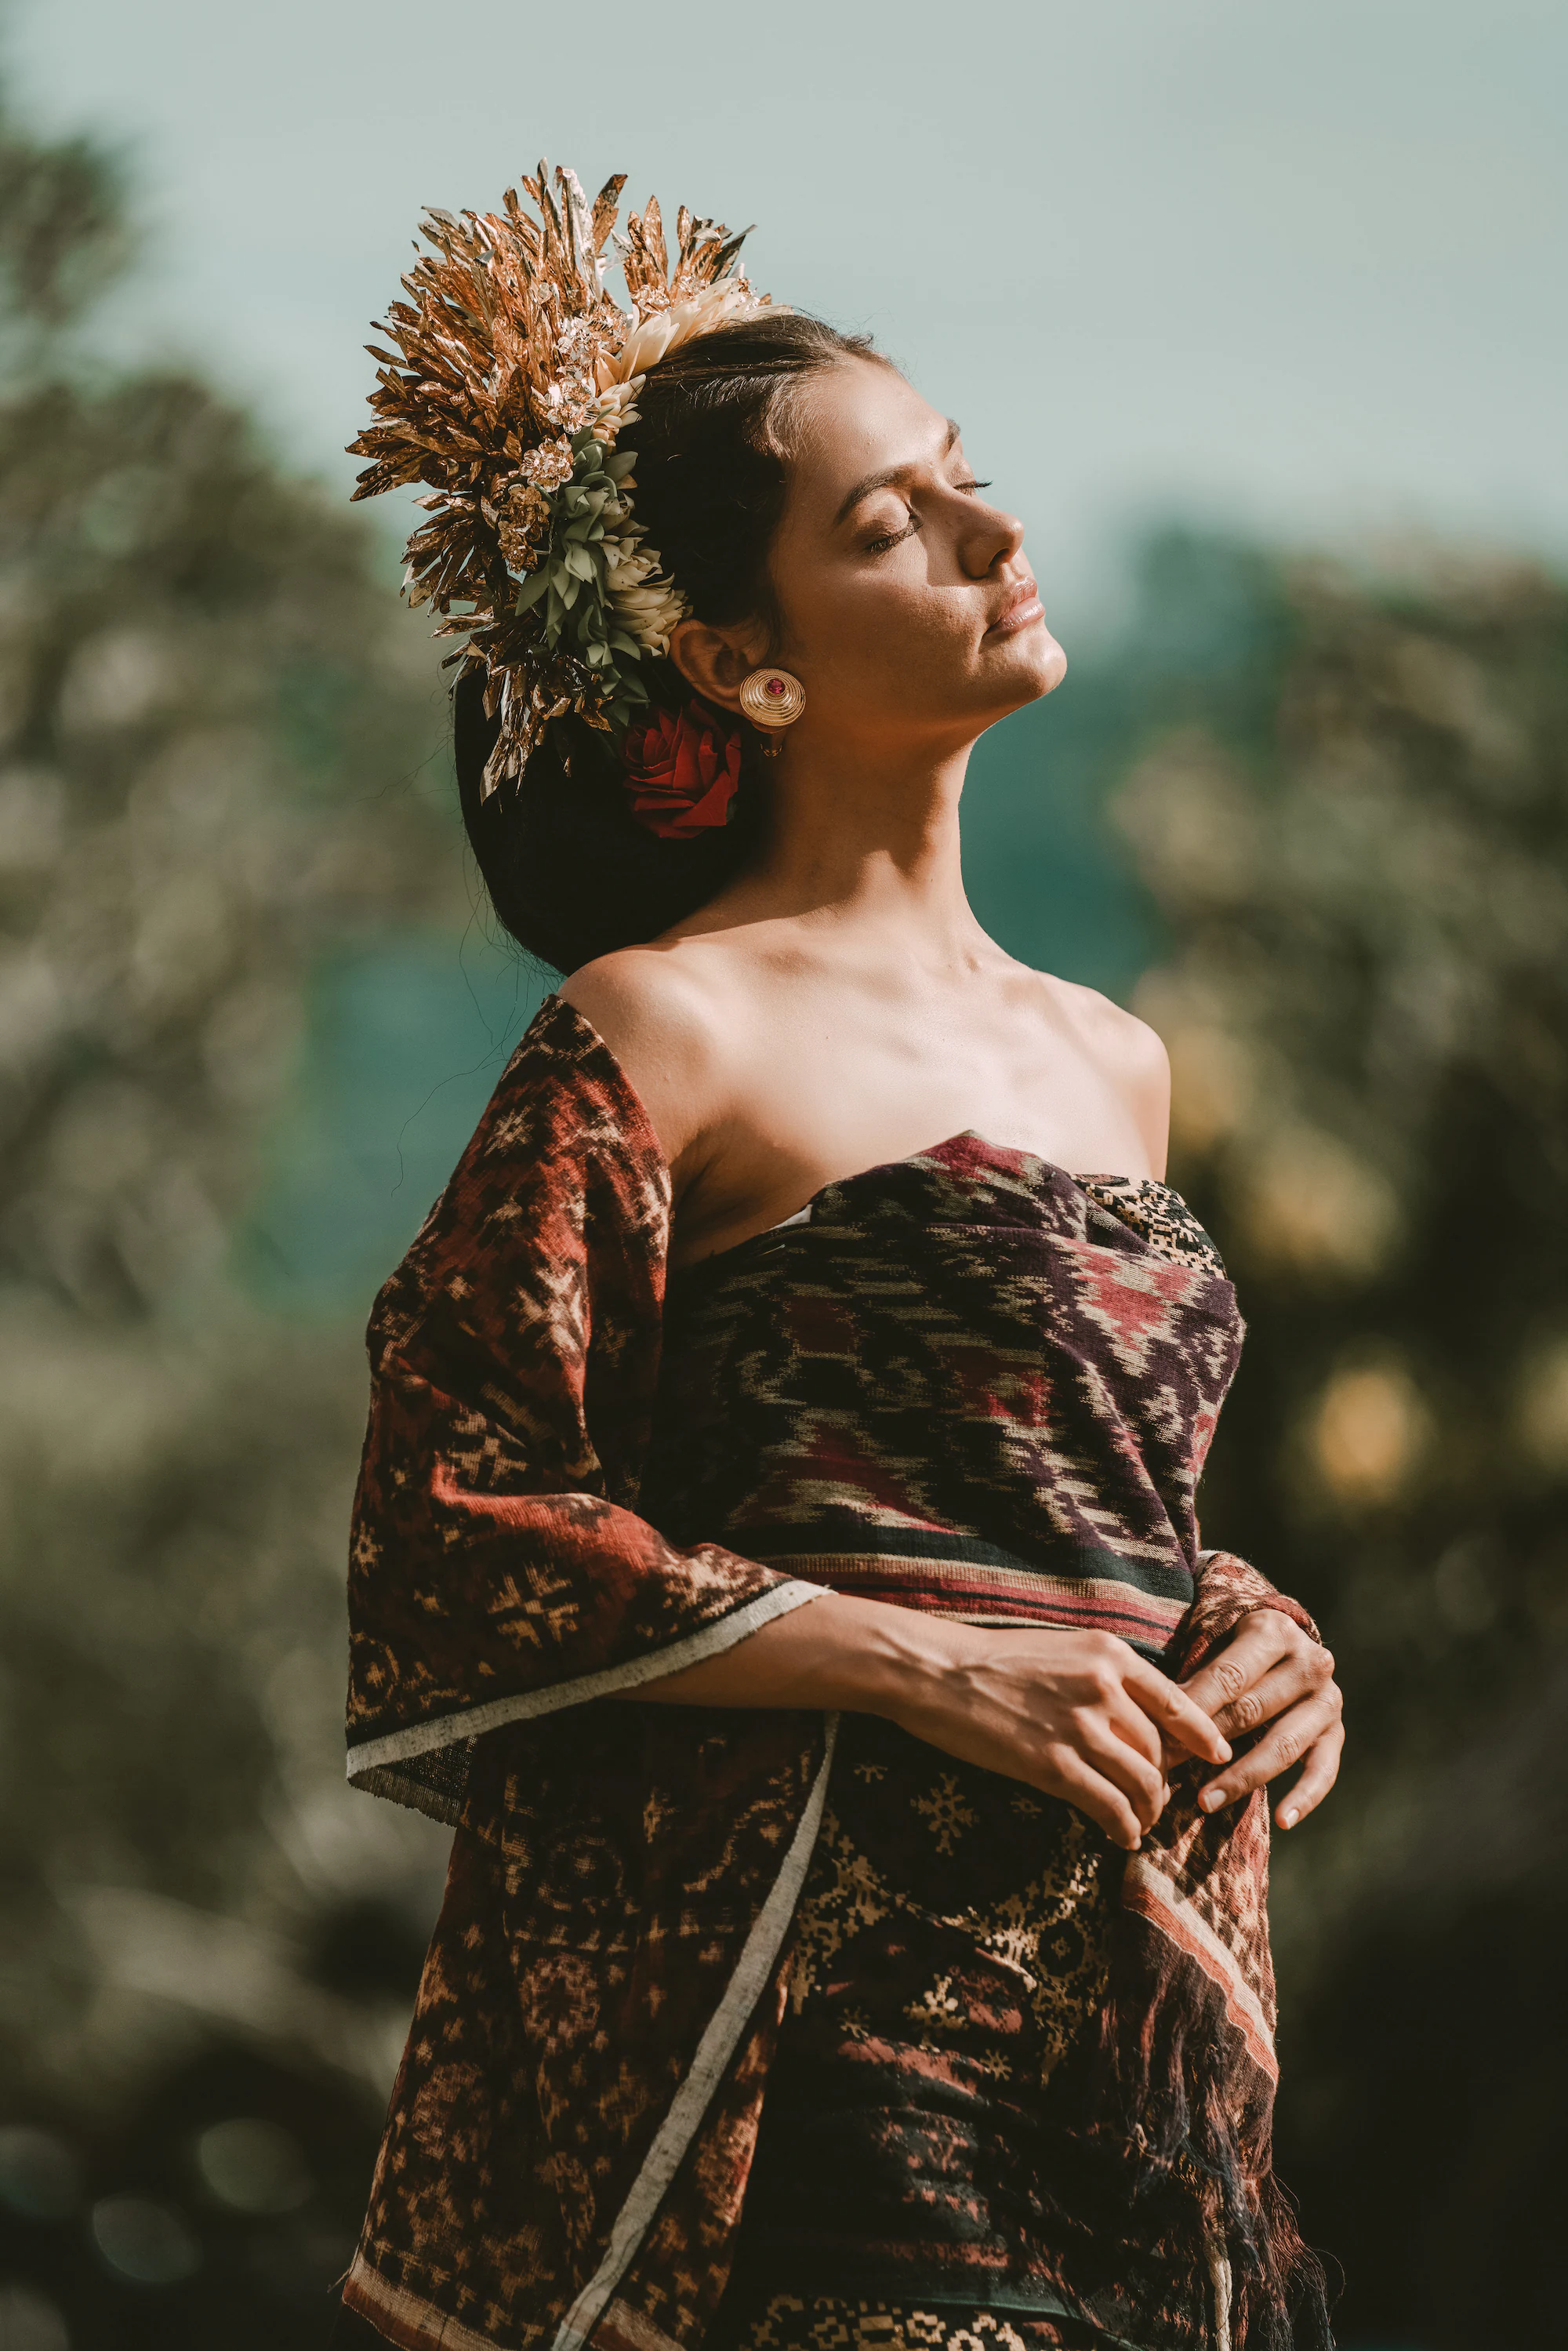
The beauty of bokeh is how it draws the viewer’s eyes to the subject.
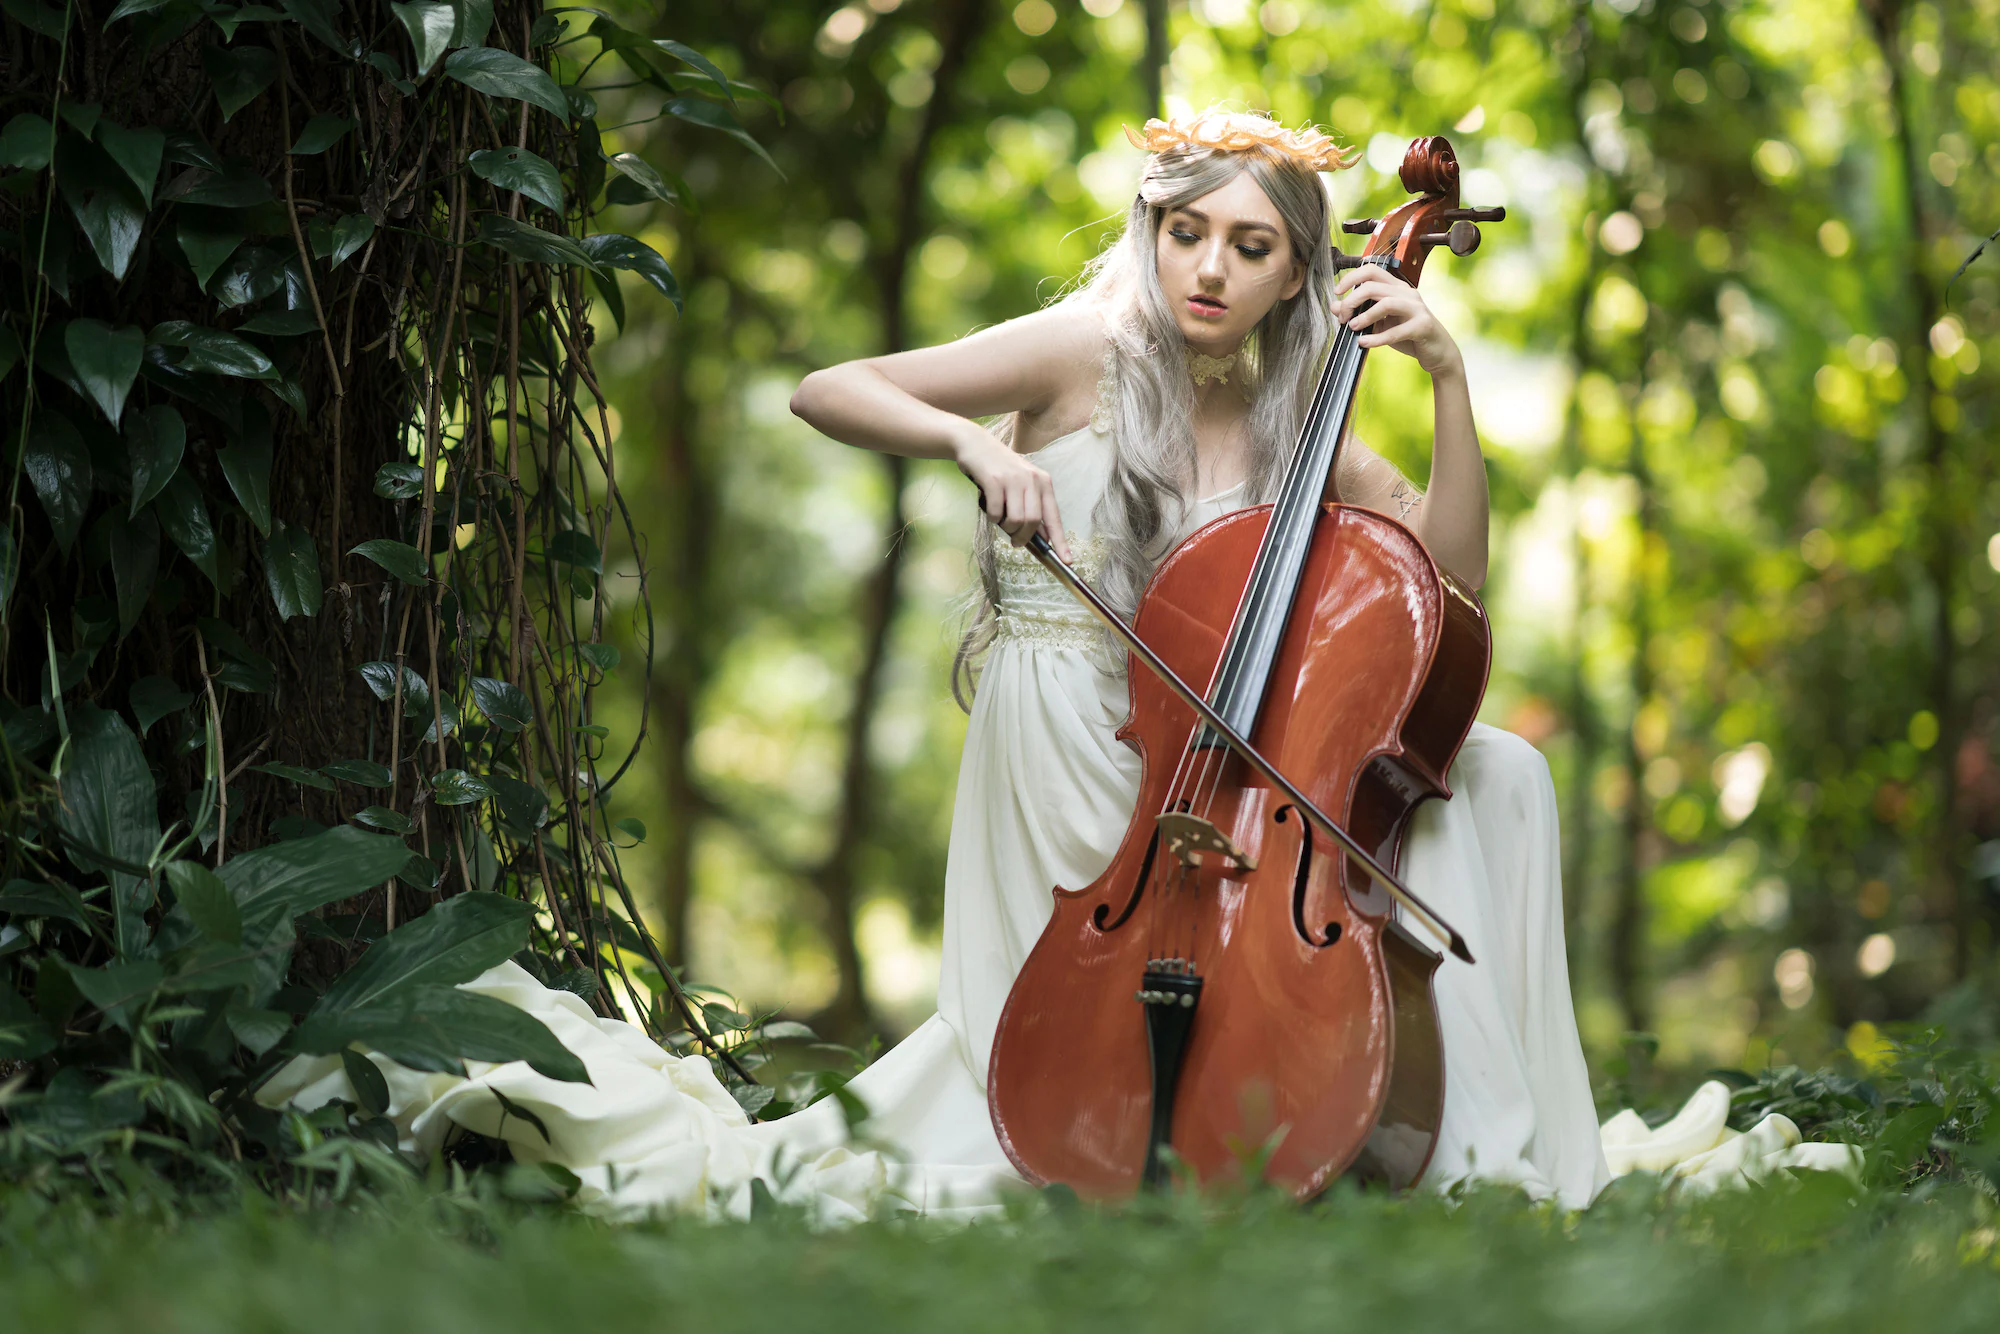
It is the sweet girl in the dreamy forest, that slice of cake popping out from a table filled with sweets or that wide-eyed kitten staring at you from a cosy lap.
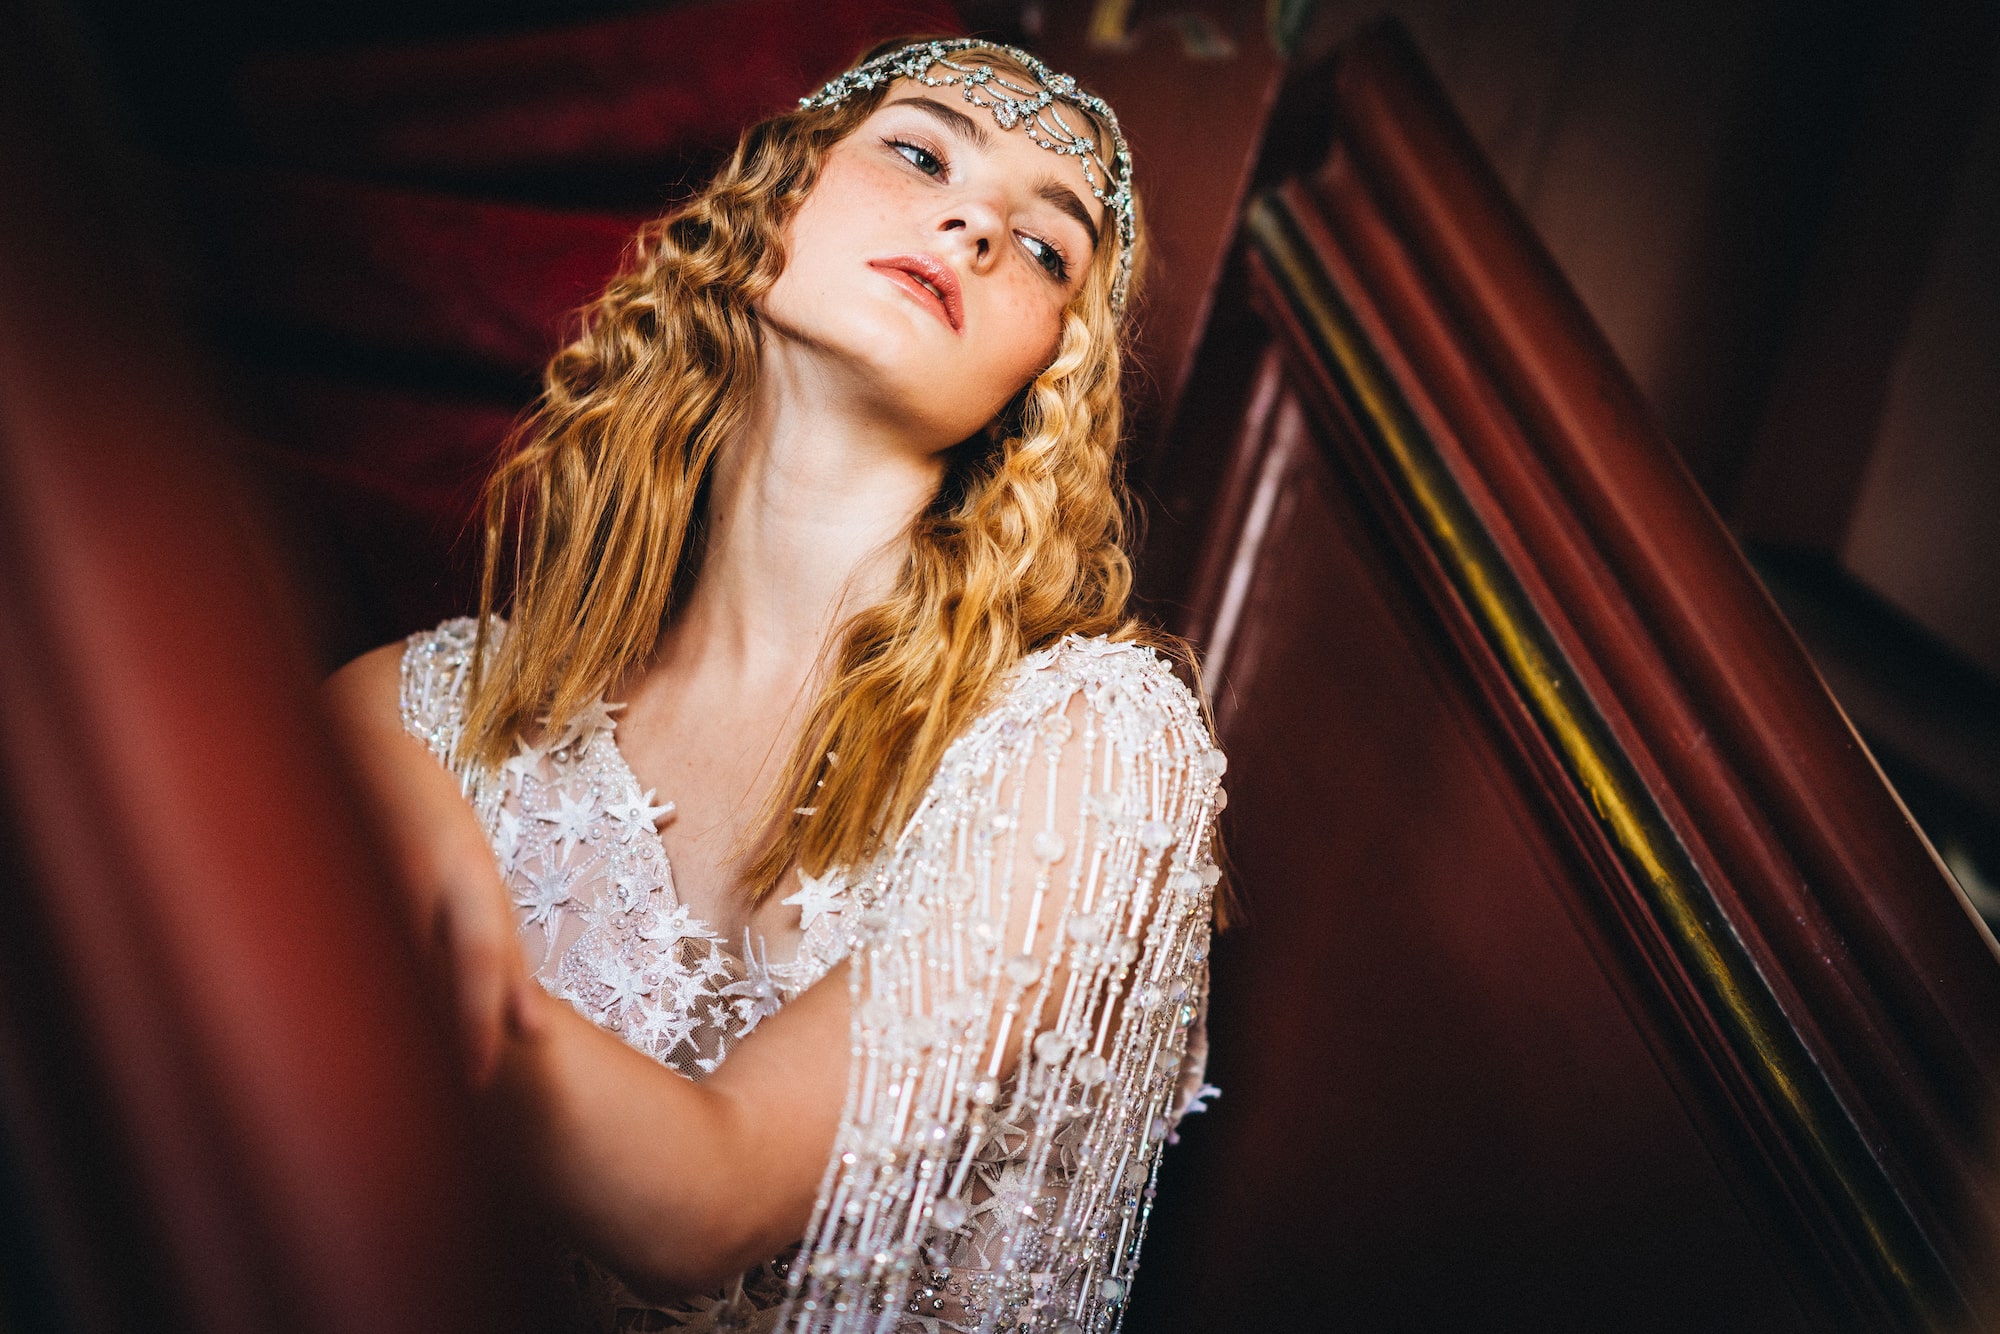
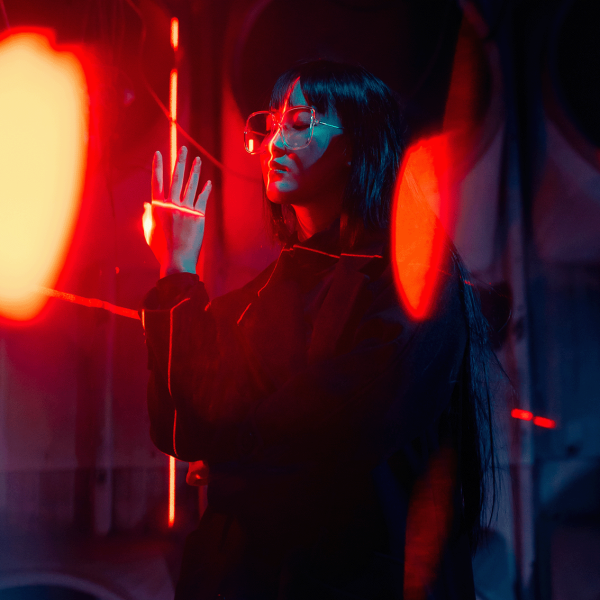
Good bokeh is pleasing to the eye. A sharp subject contrasting against a soft, out-of-focus background gives the image depth by creating layers. The background blur should appear soft and “creamy” with smooth round circles of light and no hard edges. Bokeh is great for strengthening an image’s mood, creating a particular aesthetic using colours and flashes of light in the background or to “hide” unpleasing or crowded backgrounds.
So, why is bokeh important?
The easiest way to understand the aesthetic value of bokeh is to think about how a human eye naturally sees things: in the three dimensions of length, width and height. In order to see things as three dimensional, the human eye compares the foreground to the background of the subject, or what is in front and behind the subject.
Without bokeh, an image becomes flat or 2-dimensional. There’s little or no separation between the foreground and background, and the lack of “layers” can make an image either uninteresting or overwhelming.
How do you achieve good bokeh then?
The biggest challenge in achieving creamy bokeh in your shot is finding the balance between what is sharp and what is out of focus. This is because using the widest aperture available to you usually limits the area of sharp space you will have.
There’s also the challenge of lighting and space. Shooting indoors could mean a lack of light and space, while shooting outdoors subjects you to crowds, unpredictable weather, missed timings e.g. golden hour.
Here’s the secret...it’s DOF
AKA “depth of field”. The shallower your DOF, the larger your image’s out-of-focus areas will be. Conversely, a longer DOF will keep more of the image in focus and give you less out-of-focus regions
Basically, the more distance between your subject and the background, the more blurred the background will be. Plus, the closer you are to your subject, the shallower your DOF, which means a creamier background.
To create dynamic backgrounds, try using highlights behind the subject to help it really pop.
When trying to create natural-looking images consider these factors:
- Open up your aperture to the smallest F-stop
- Focus closer to your subject then the background
- Use a fast lens (2.8 or greater, 1.9, 1.8)
- Situational lighting
Another tip, choose the right lenses
Ever notice how some images have subtle, pentagon-shaped out-of-focus highlights and others have rounder, more circular ones? It’s all thanks to your lens.
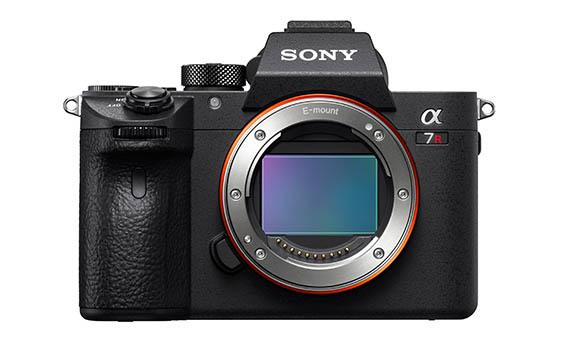
Bokeh is rendered by camera lenses, not your camera. Different lenses have different numbers of aperture blades. The more blades the lens has, the more circular the bokeh will appear. Depending on your aesthetic, you may prefer one or the other. Generally, portrait and telephoto lenses with large apertures will yield more pleasant-looking bokeh than zoom kit lenses.
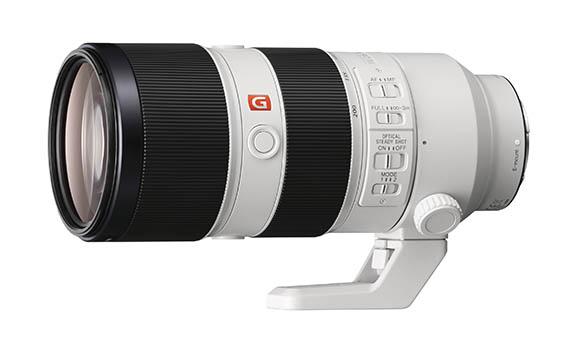
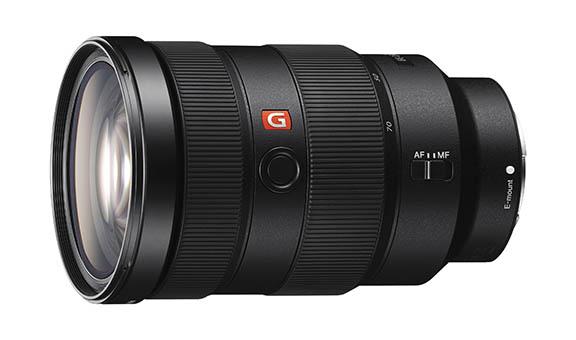
Choosing lenses with wide bokeh gives you the option to play with your DOF and bokeh. Sony G Master has a wide range of lenses with amazingly wide bokeh including the SEL24F14GM, SEL135F18GM and more. But my personal favourites are the SEL85F14GM and SEL70200GM.
At its widest, the SEL85F14GM is the perfect portrait prime. It widens up to F1.4 which gives me breathtaking bokeh and sharpness. It has a circular 11-blade aperture that creates soft, circular highlights that helps me achieve dreamy images easily.
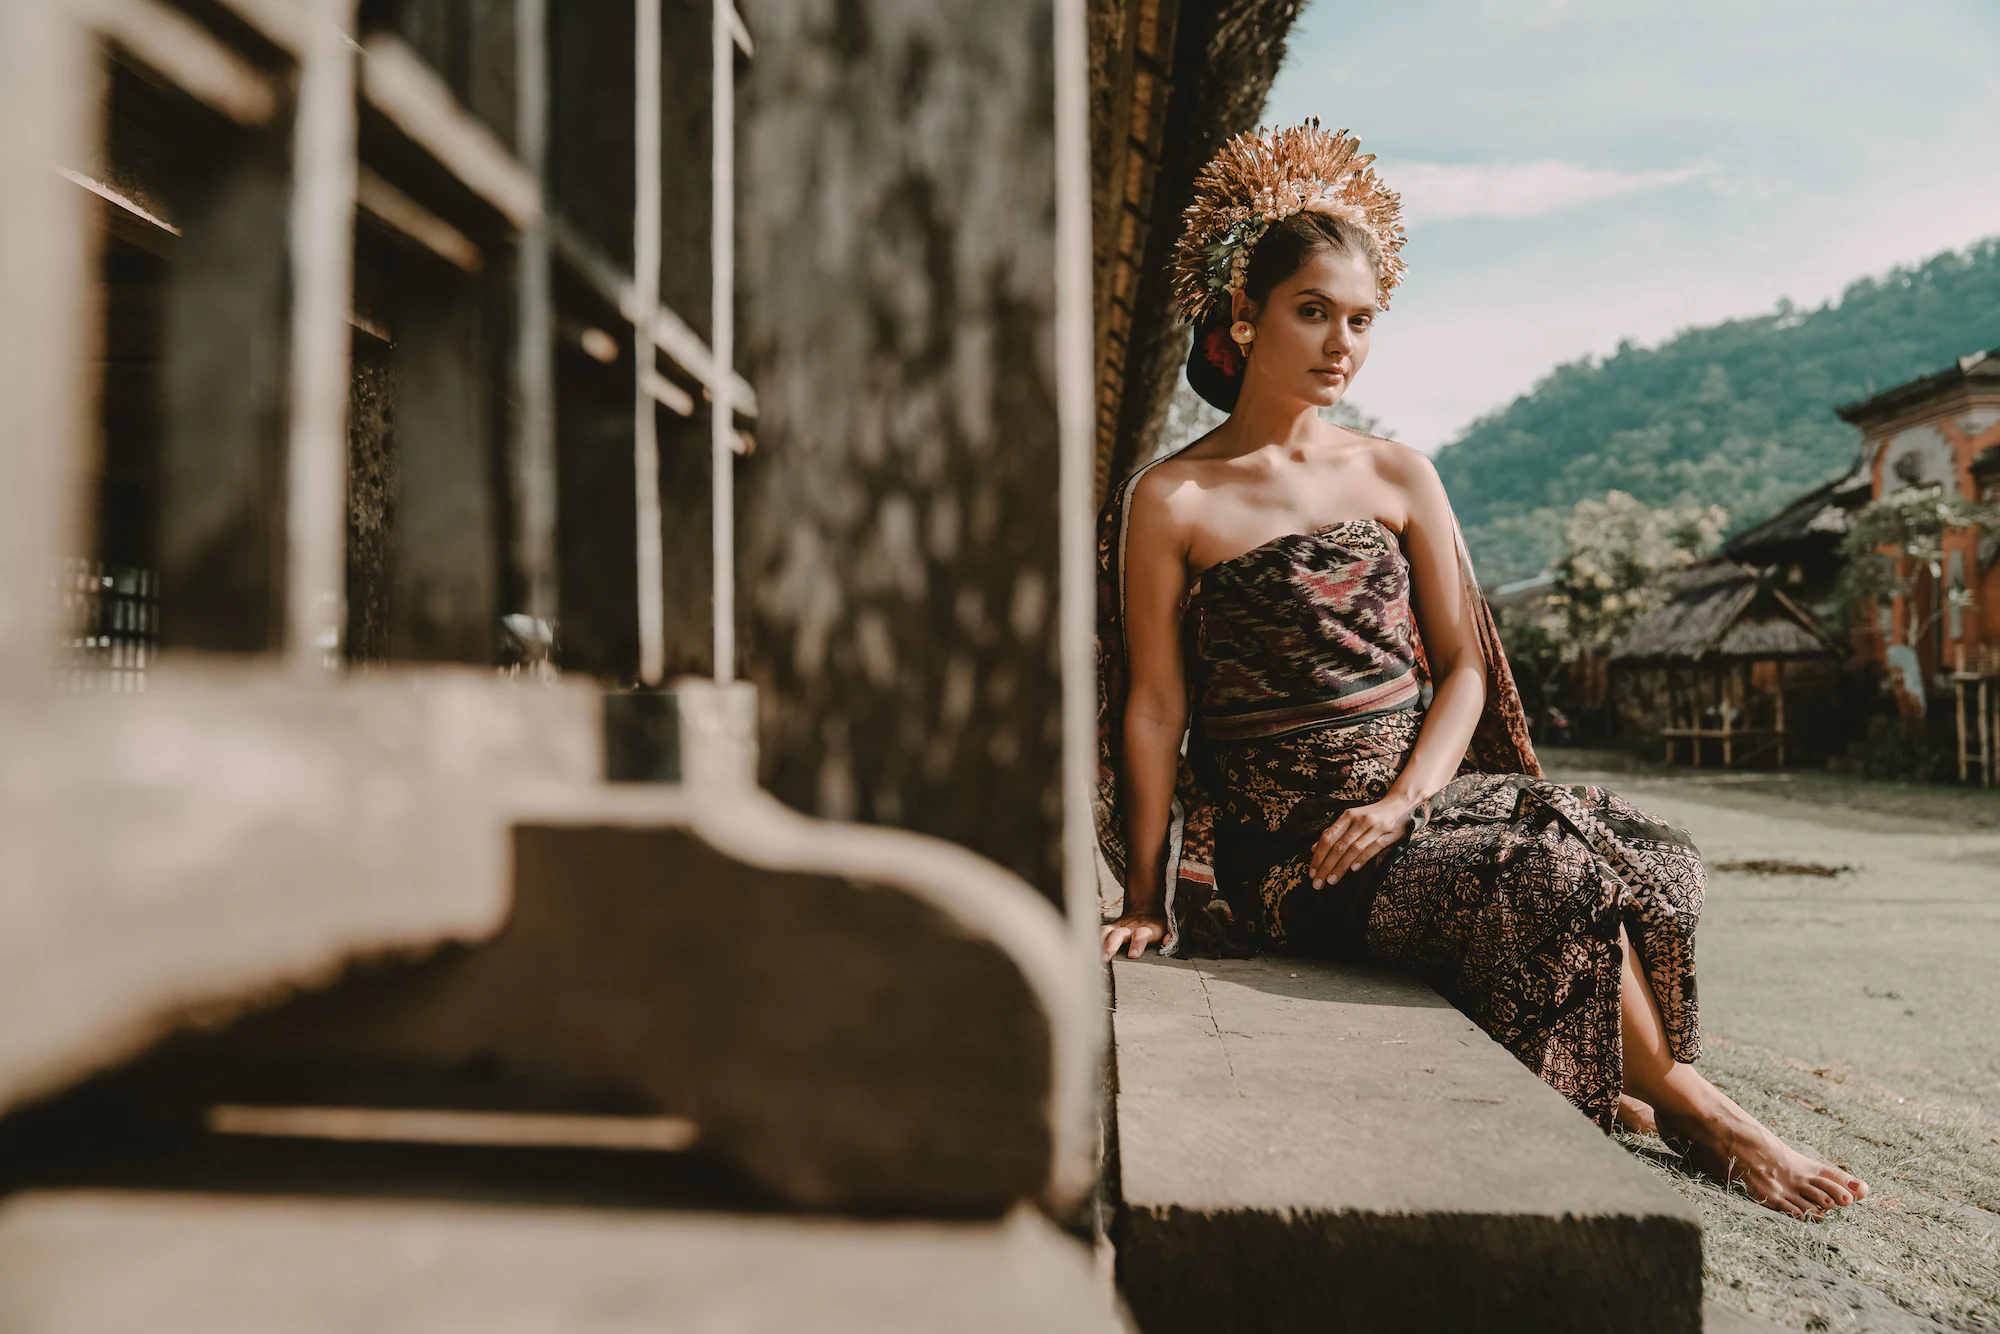
When shooting outdoors in large spaces with far away backgrounds, I prefer to use Sony’s SEL70200GM. With the longest focal length of 200mm at F2.8, it’s possible to render smooth bokeh and amazing compression. The lens is also incredibly versatile and allows you to move nearer or further as you need.
There’s no one right way to capture bokeh
The most important thing to remember when creating your ideal image is to have fun. There are many ways to apply bokeh to bring your images to life. Explore, try new things and remember to enjoy the process too.


