Capture Electrifying Lightning Rips with Darren Soh
What does it take to capture striking lightning streaks? We speak to photographer Darren Soh to learn more about lightning rips and gain valuable insights into the craft.
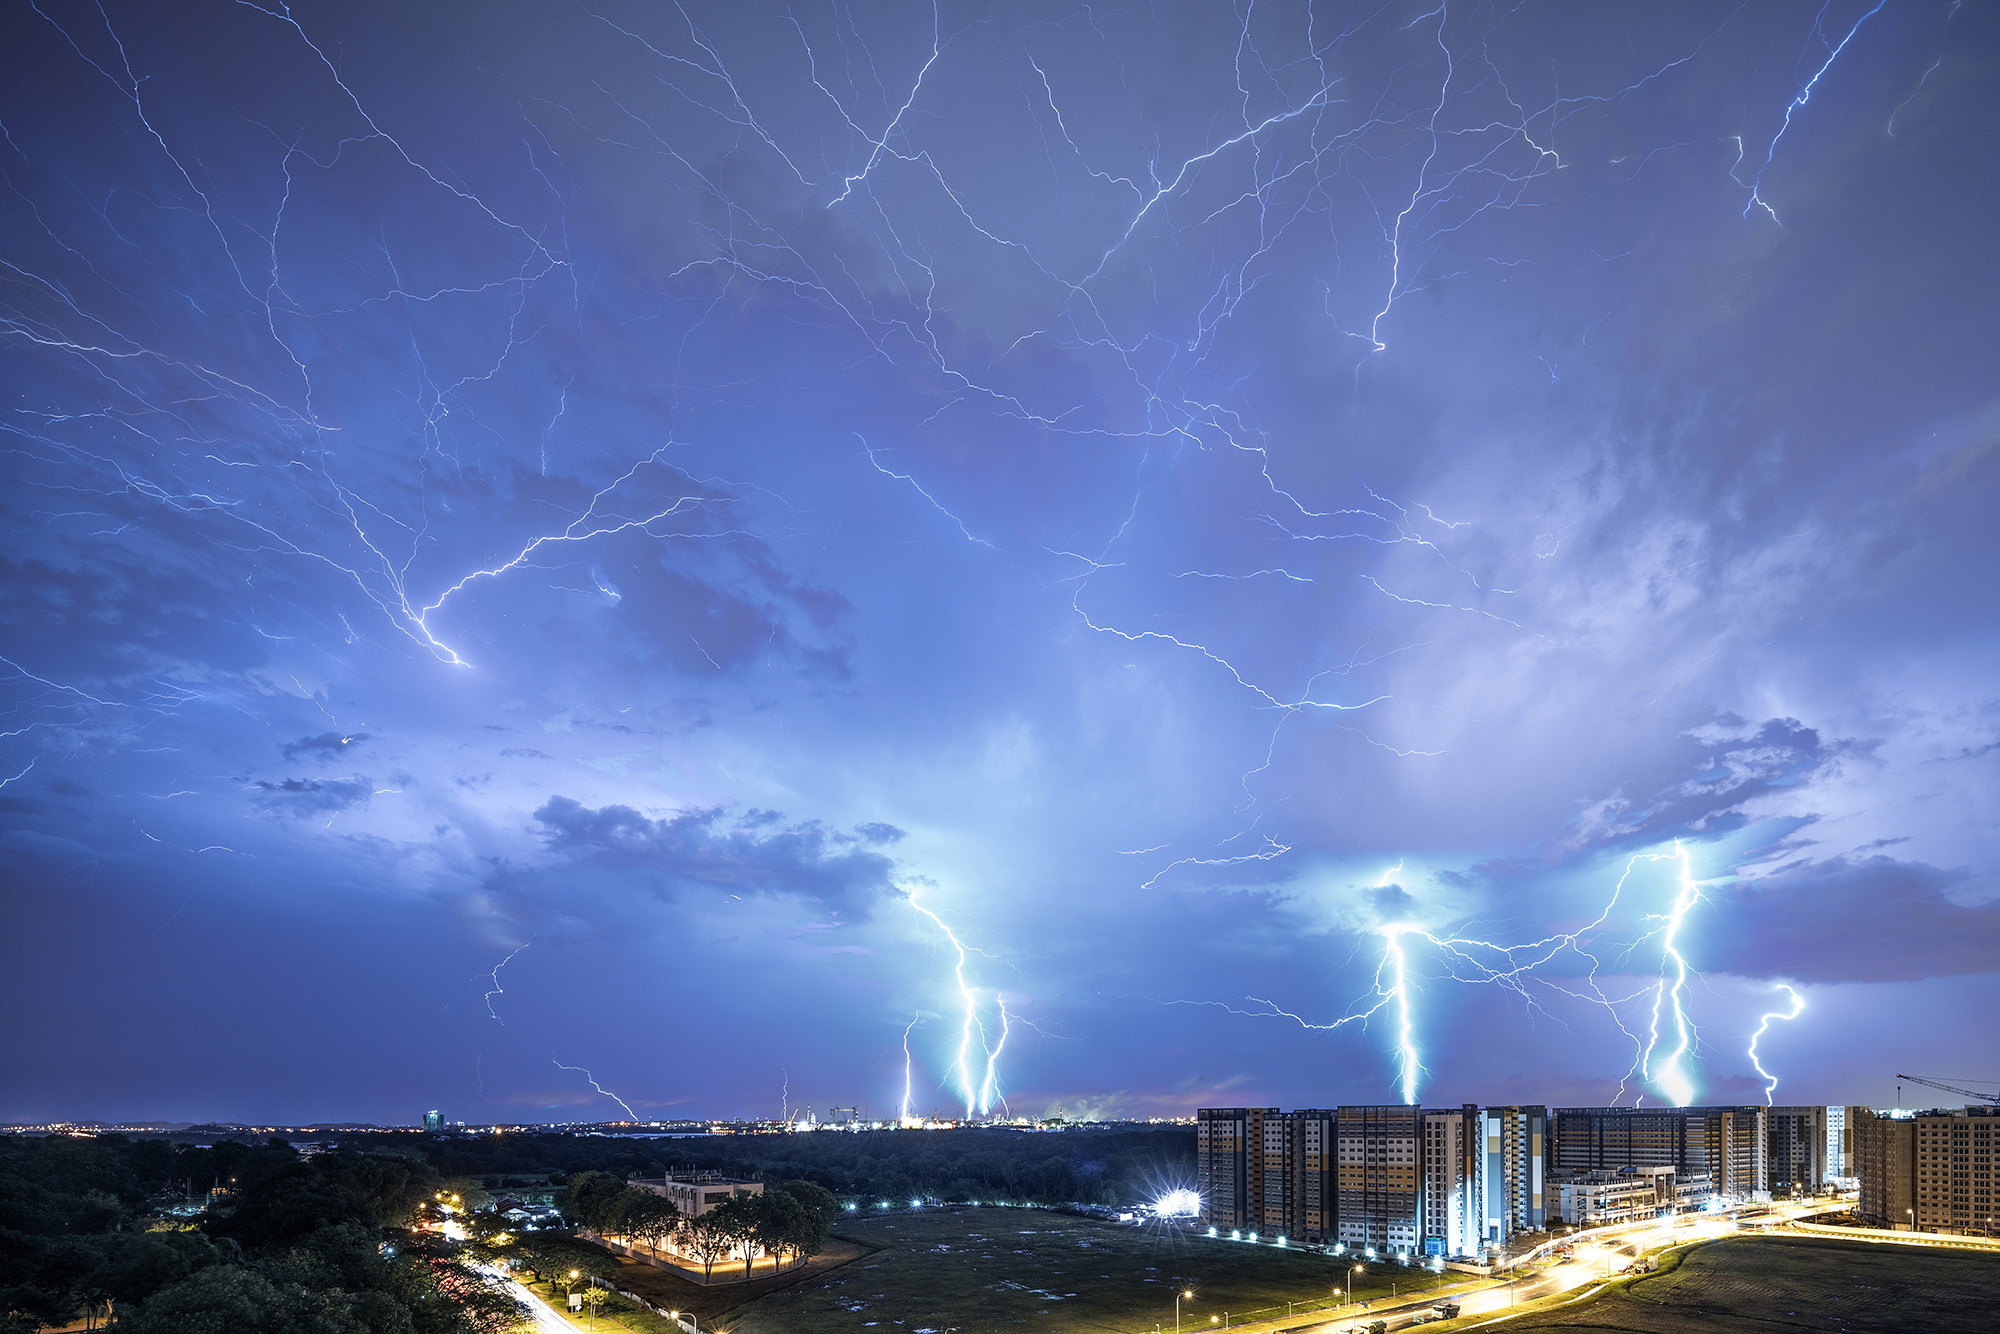
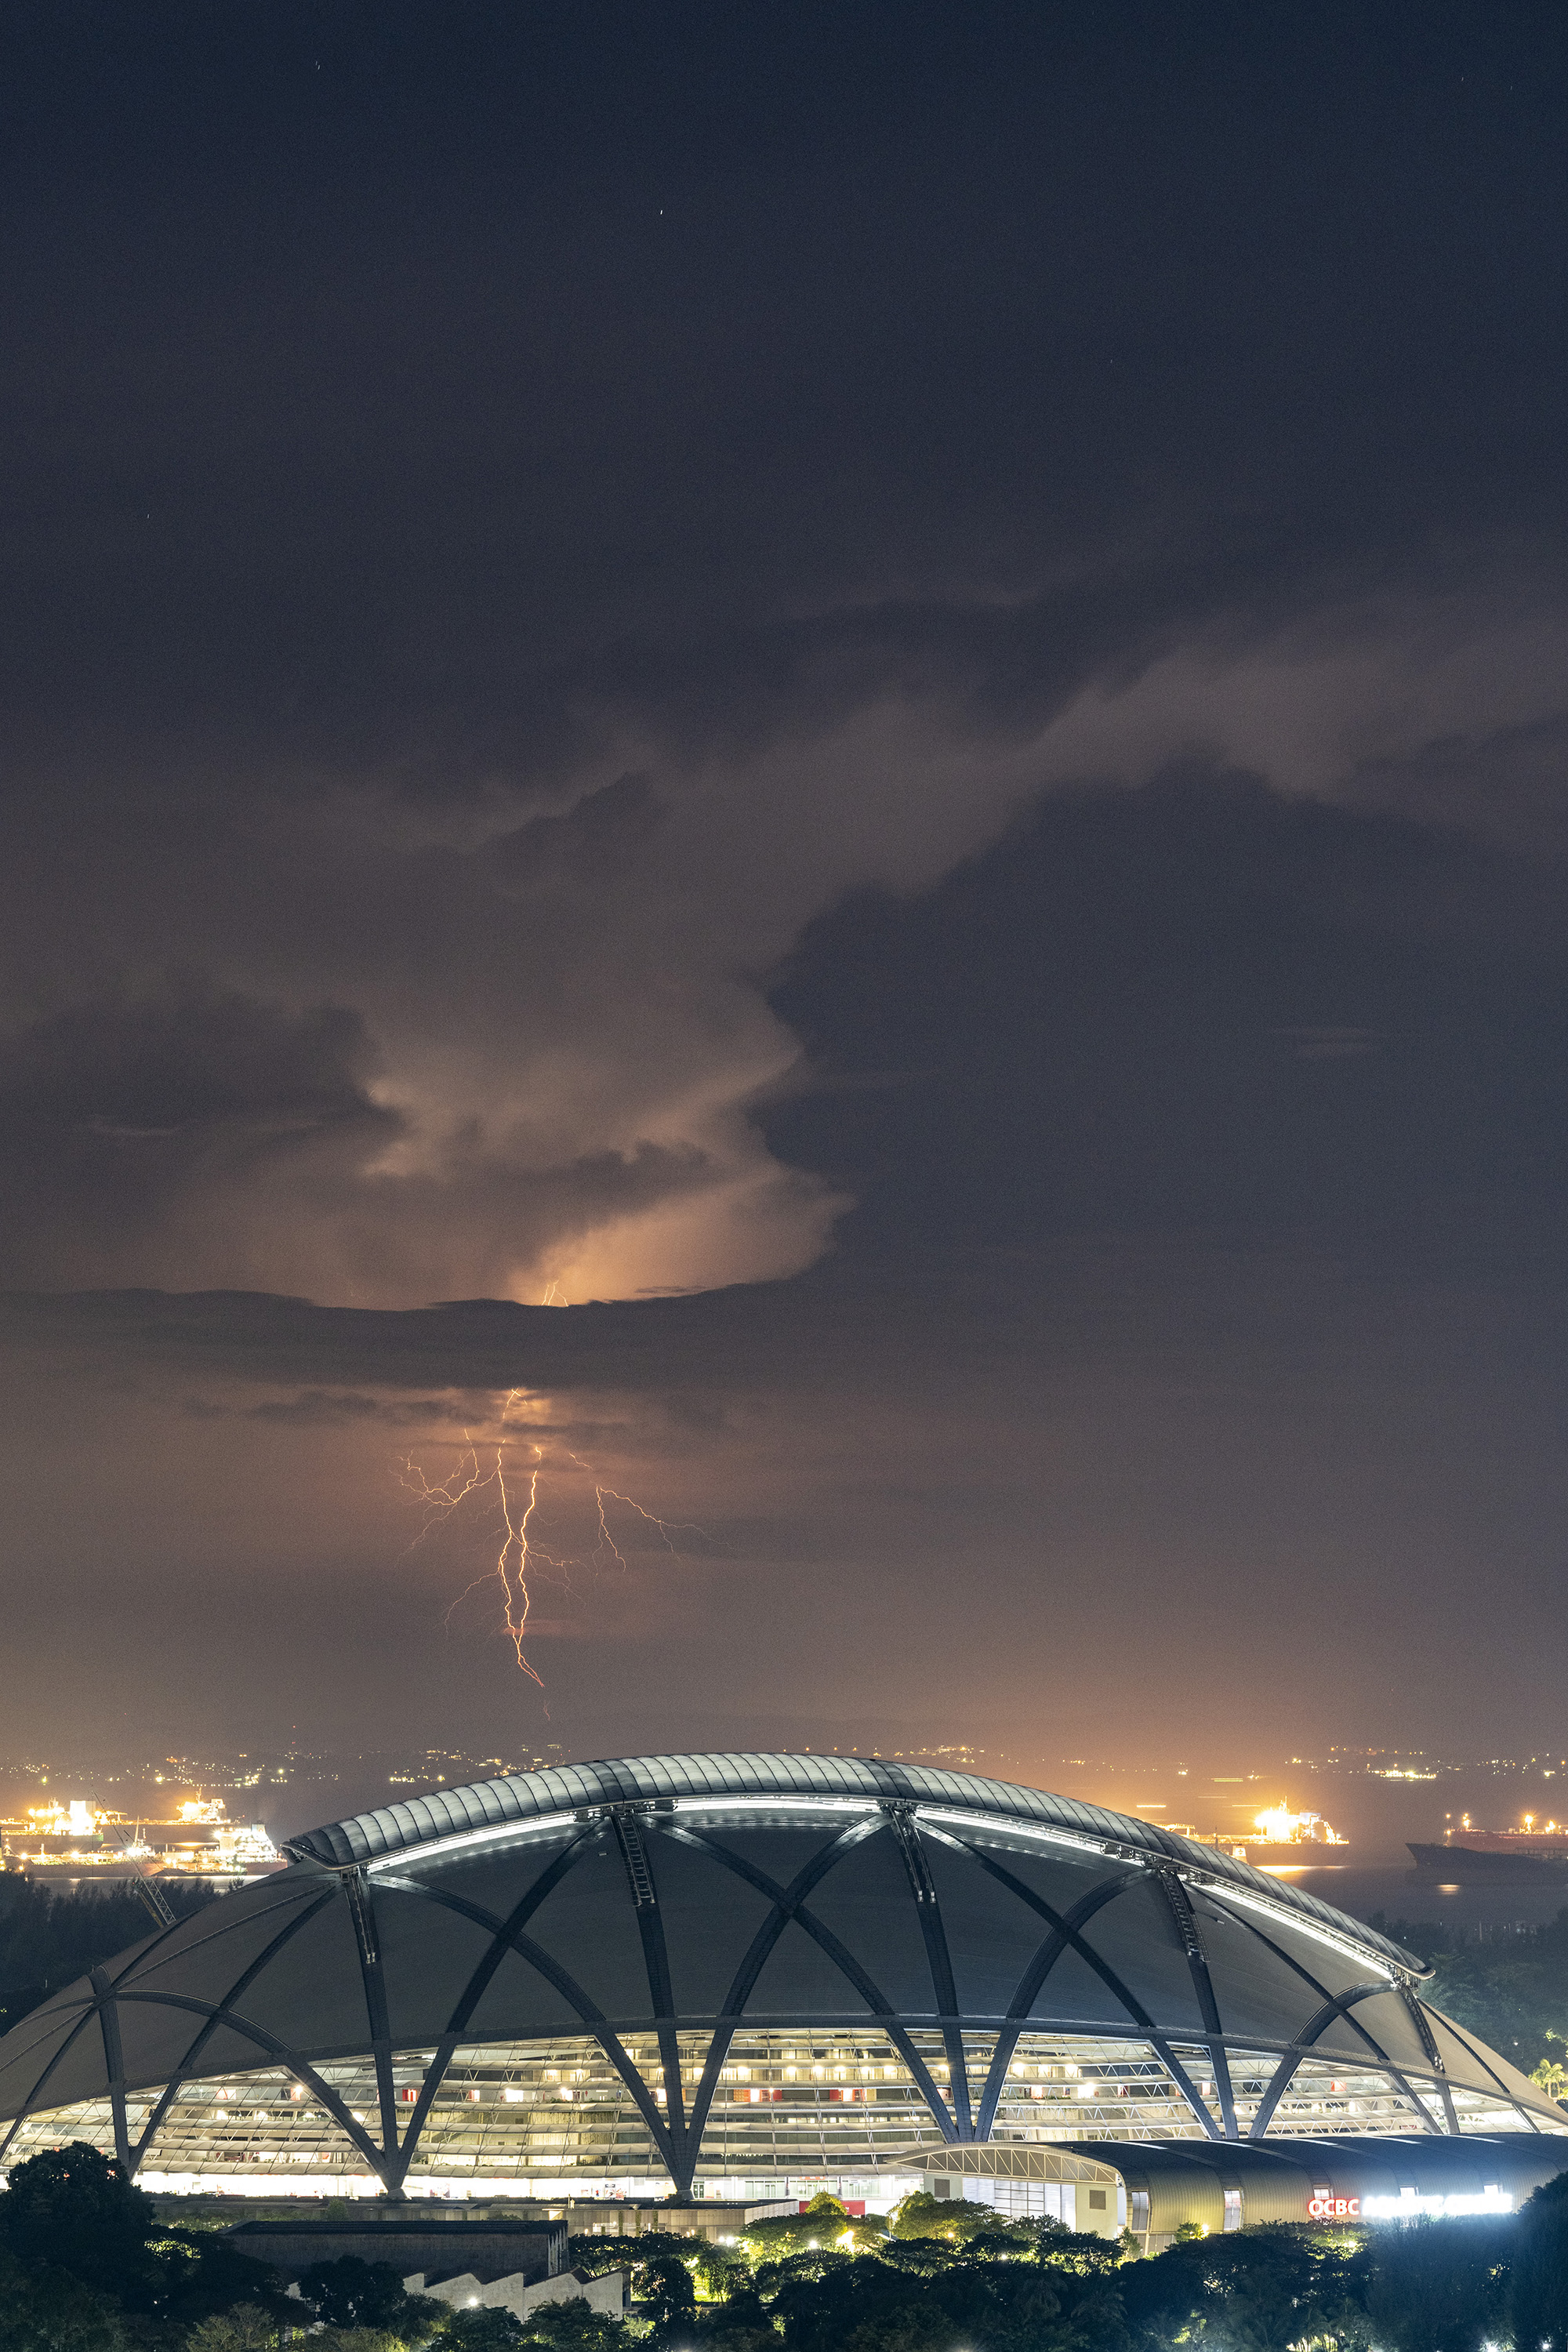
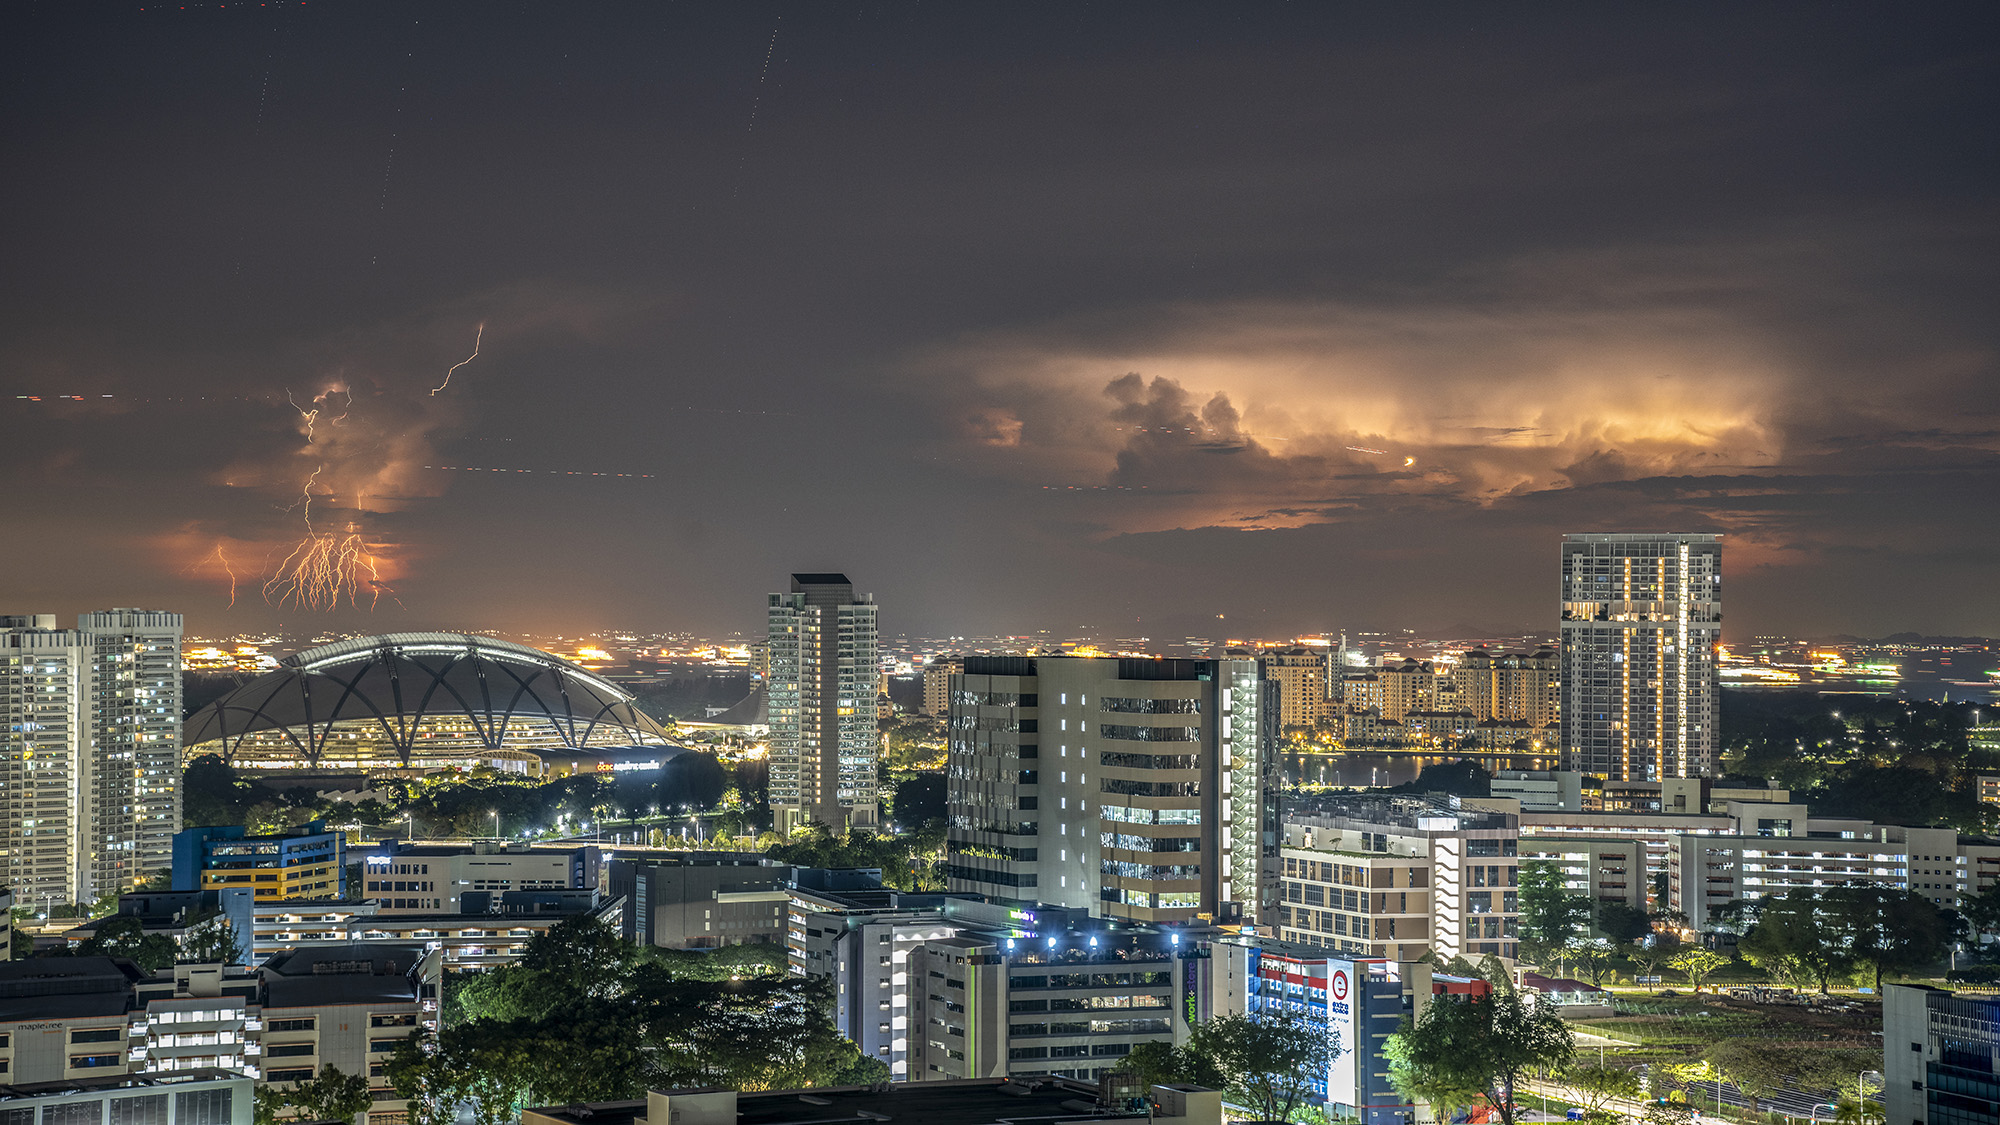
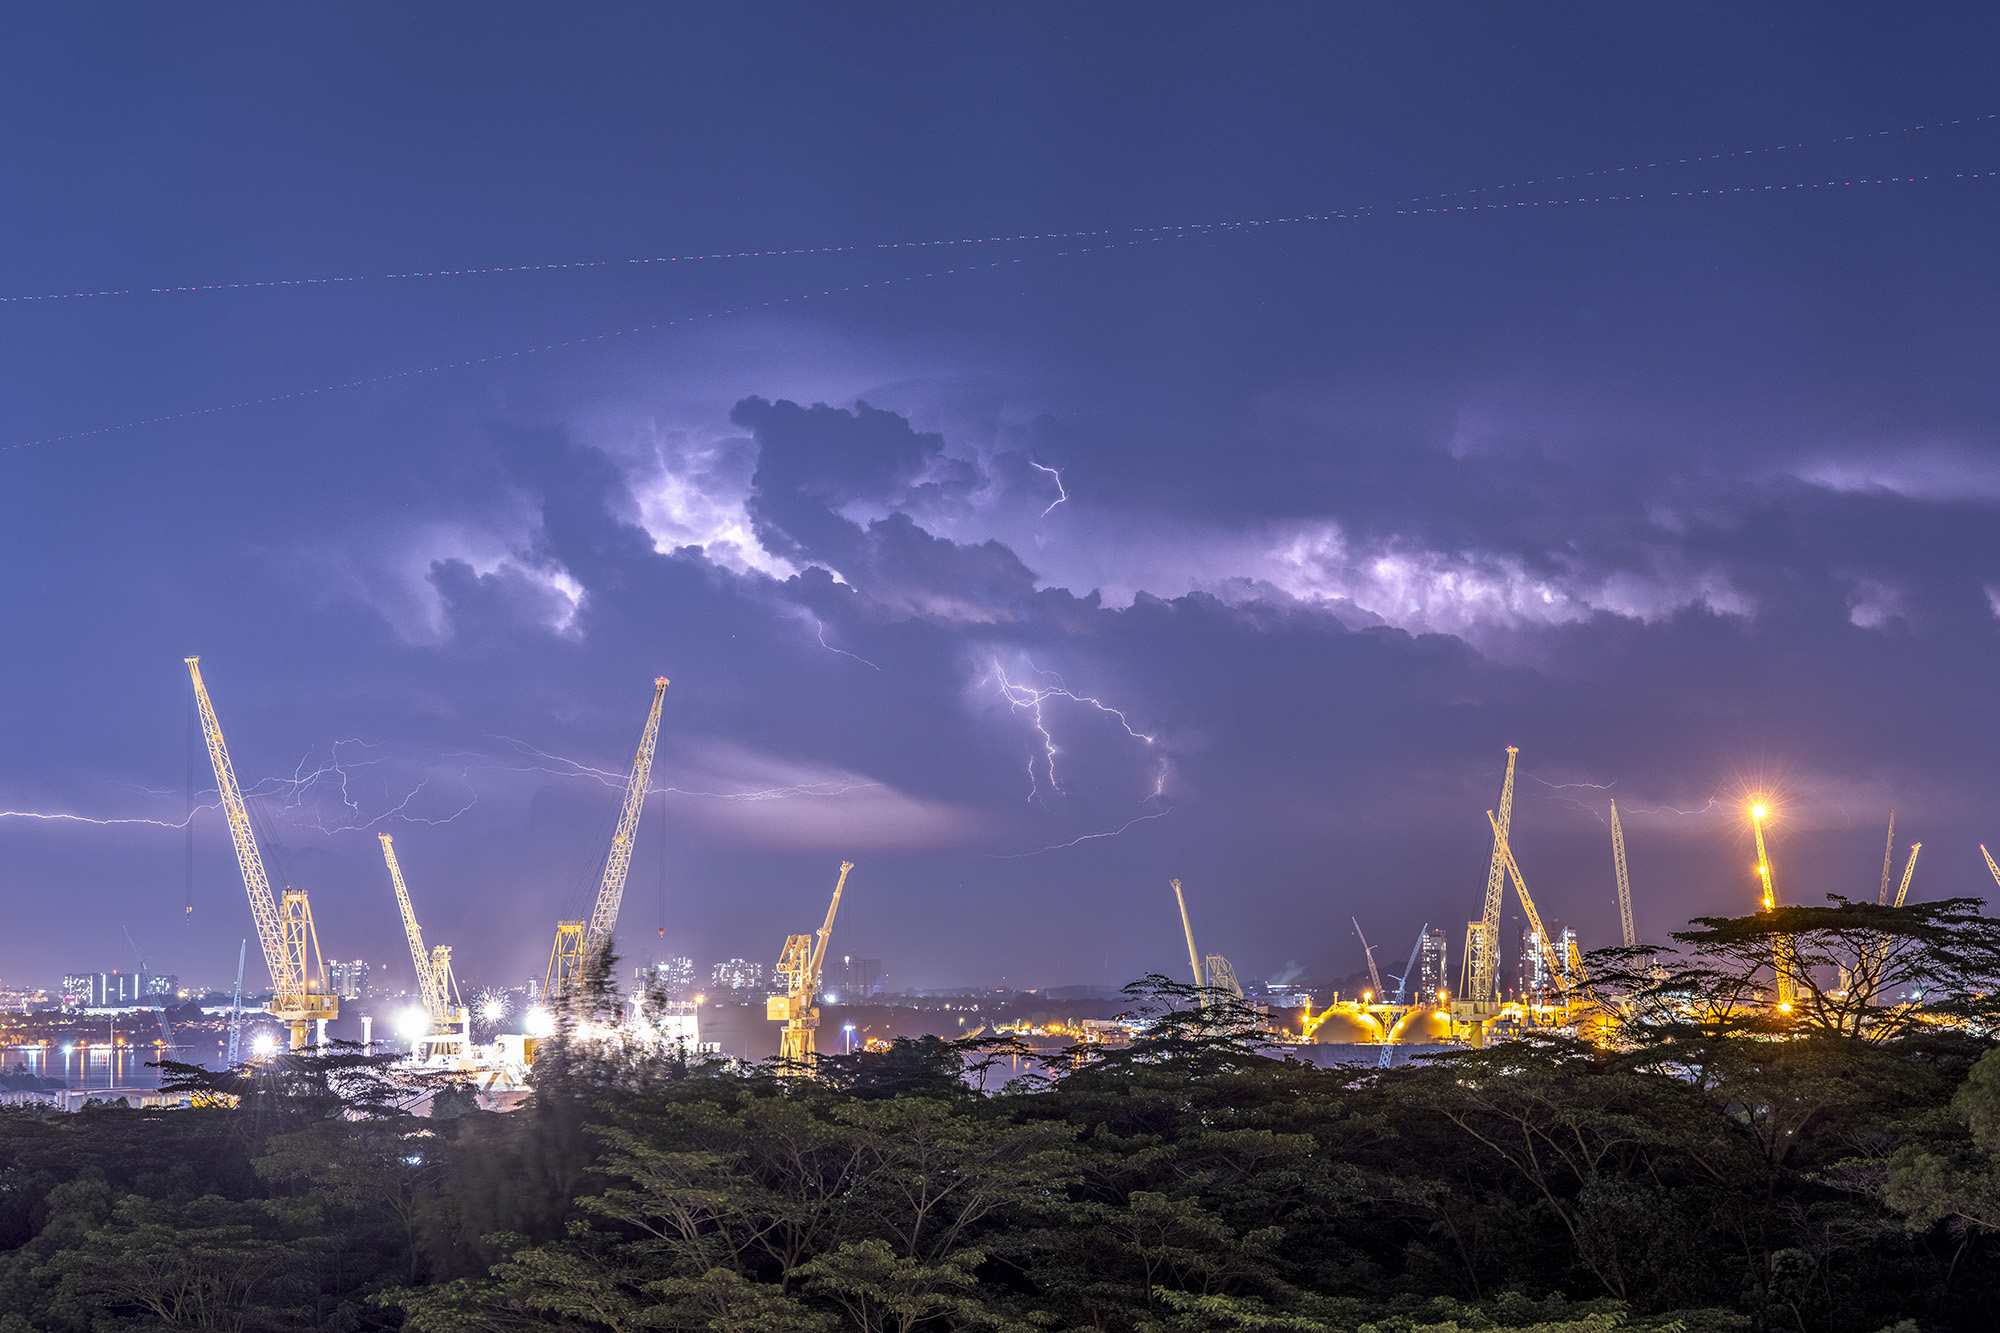
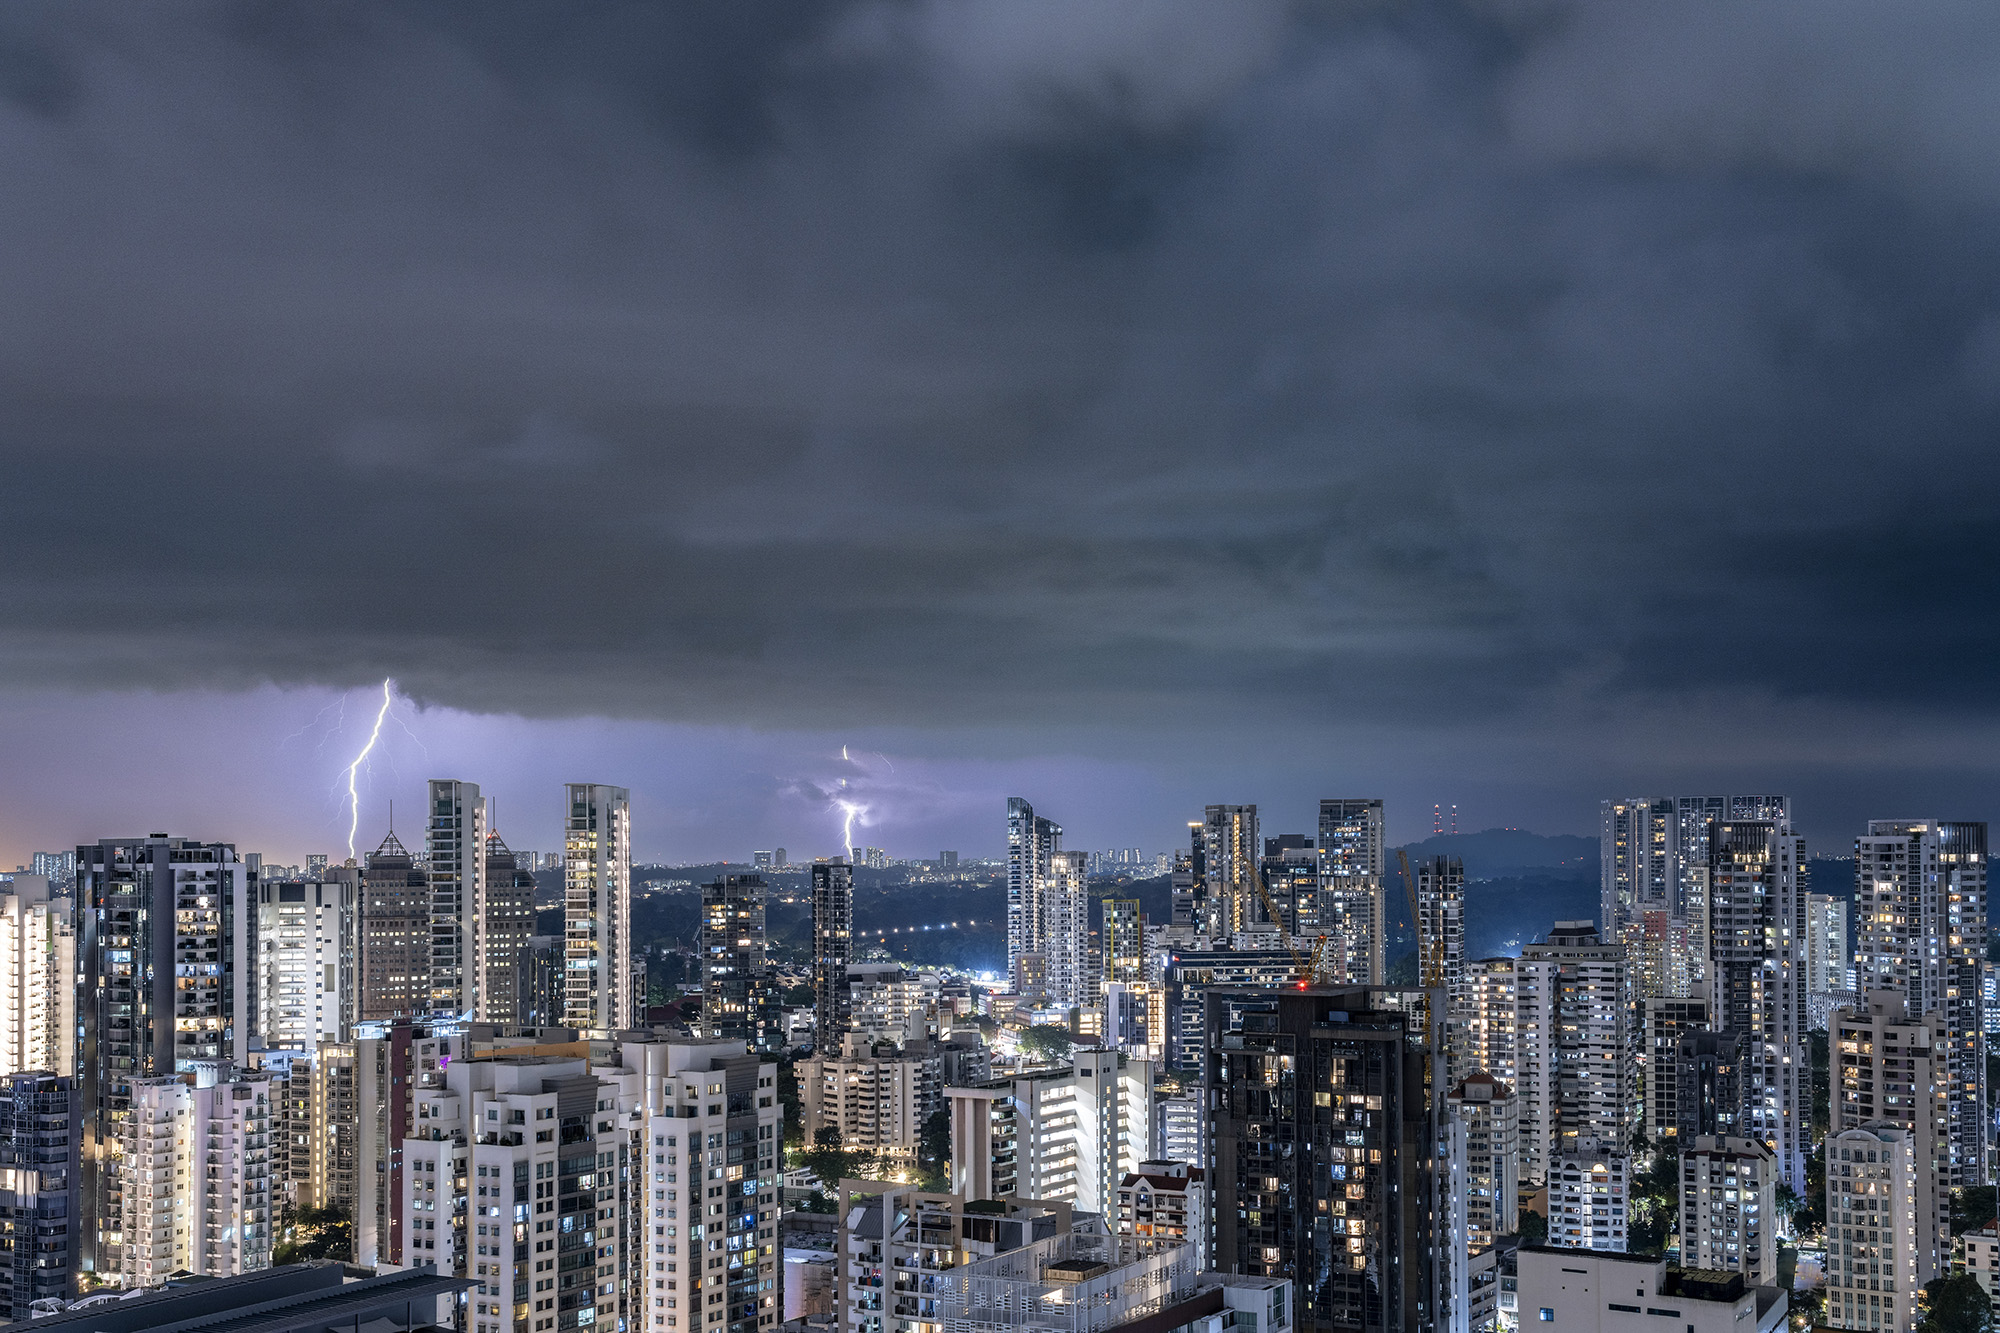
When he saw a photo in National Geographic, made up of 70 layered shots to form a great wall of lightning over the island of Ikaria in Greece, Singaporean photographer Darren Soh was immediately intrigued. He was amazed at how the multiple photos stacked on top of each other painted a landscape streaked with lightning tearing through the night sky.
With Singapore’s reputation for being the lightning capital of the world, Darren set out with his gear to capture majestic lightning-filled night skies of his own. Being an architectural photographer, hunting for the best vantage points came naturally to Darren, who roams the streets of Singapore to capture buildings and places from unique perspectives.
Freezing the electrifying action in a snap
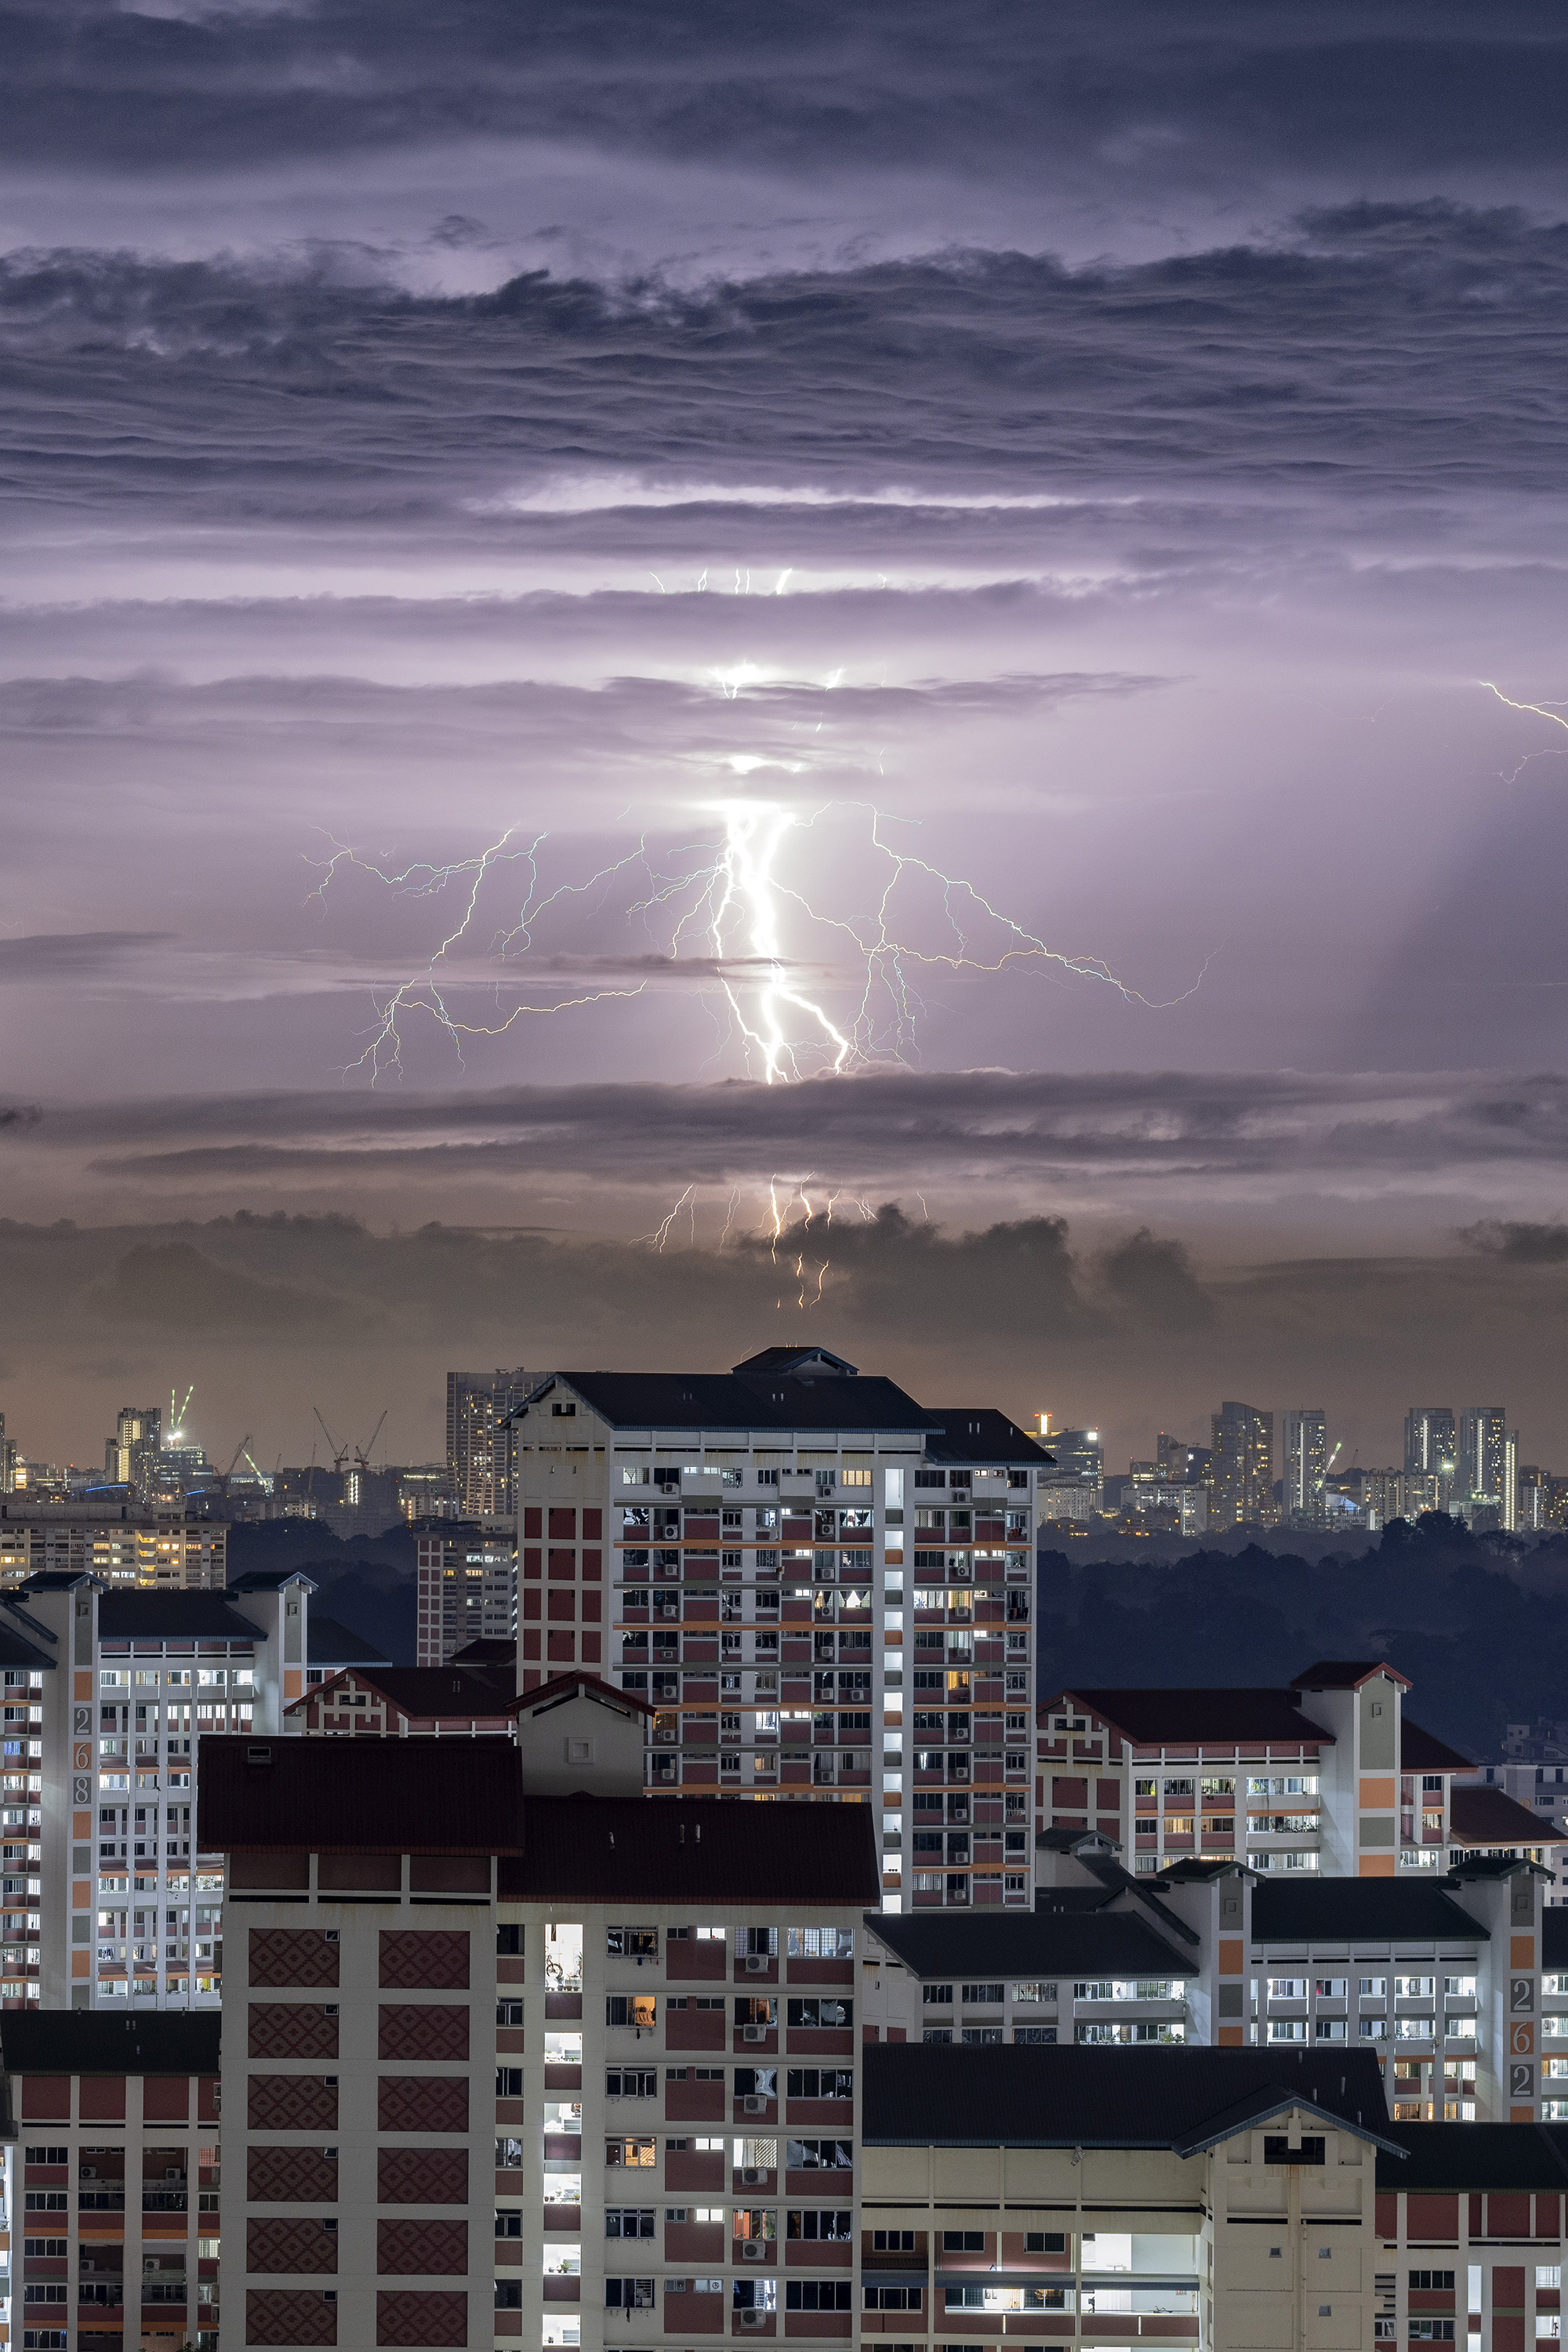
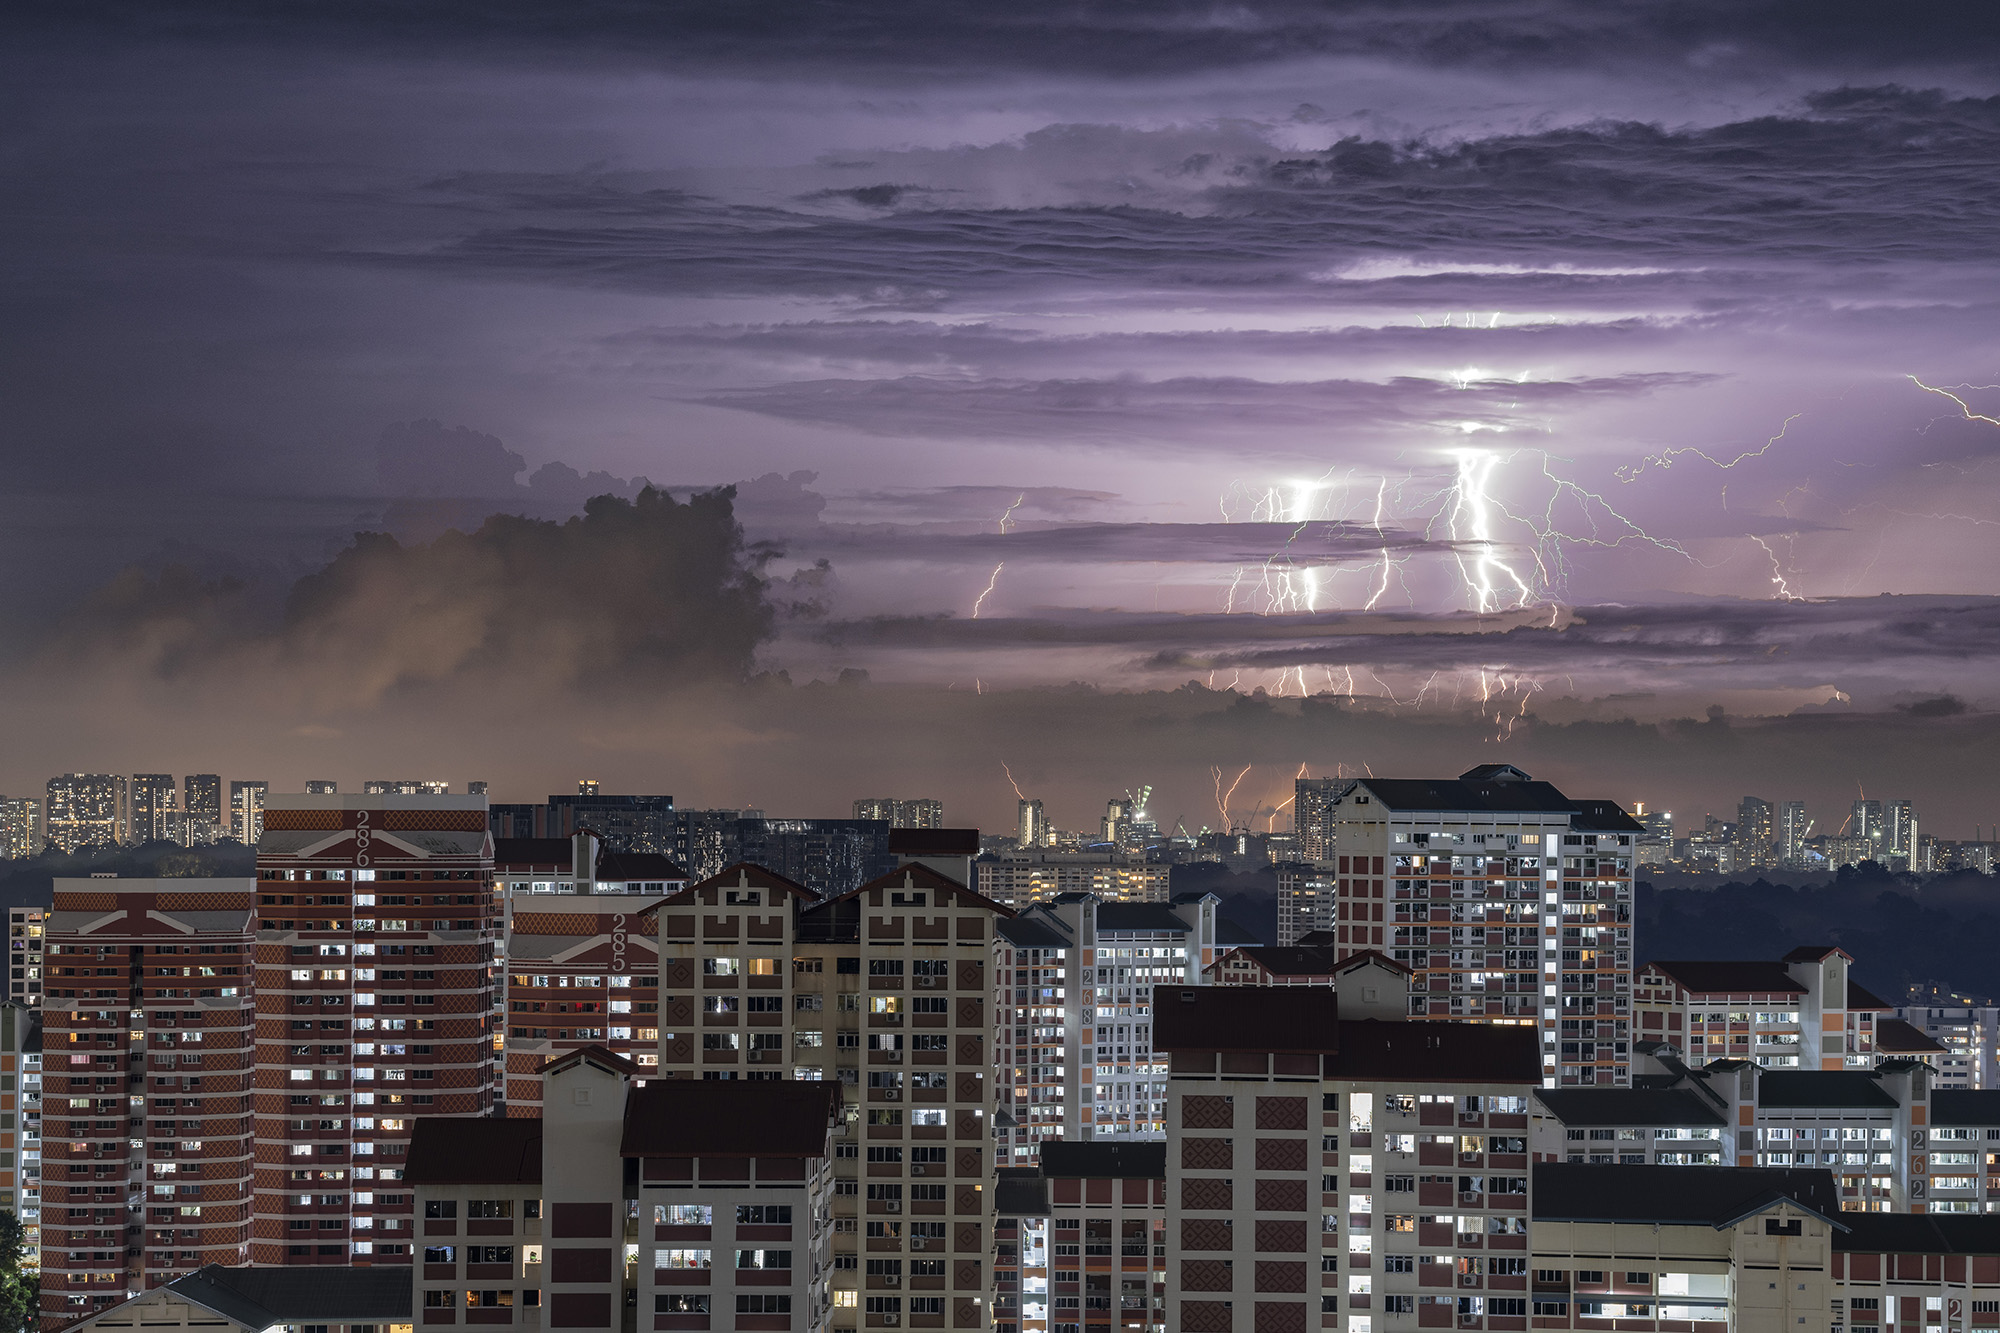
Lightning rips are achieved by layering single-exposure images (see below) in Photoshop and combining them with the “Lighten” blending option. This method ensures that only the lightning strikes – the brightest parts of each frame – are layered.
Before that comes the exciting part – heading out to capture the action. You will have to position yourself at a high vantage point and take photos of multiple lightning strikes from the same spot, tweaking your camera’s exposure accordingly as you go.
“Usually, I use a shutter speed of about 6-8 seconds with an aperture of F8 at ISO 200-400,” shared Darren. “I tend not to go lower than that because some strikes are weak and may appear faint. Depending on the amount of ambient light, I adjust my ISO to fit the desired shutter speeds of 6-8 seconds. Any longer than that, you will risk overexposing the lightning strikes if more than one occurs around the same area in the frame.”
Getting geared up
In addition to his trusty Alpha 7R IV, Darren also packs a selection of telephoto and zoom lenses in his equipment bag for every lightning photoshoot.
“Sony’s GM and G lenses ensure I can always capture the best quality images so that I can concentrate on getting the shot without worrying about sharpness and resolution,” said Darren. “This allows me to compose the scene appropriate to each situation.”
Darren’s lenses:
-
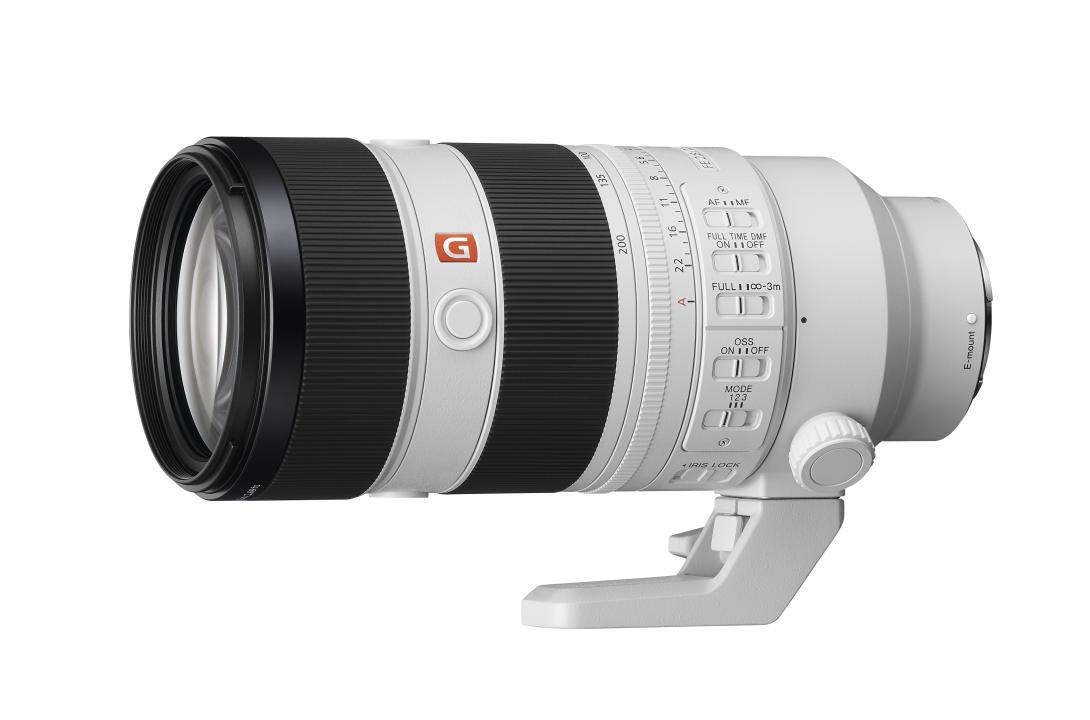
FE 70-200mm F2.8 GM OSS II
-
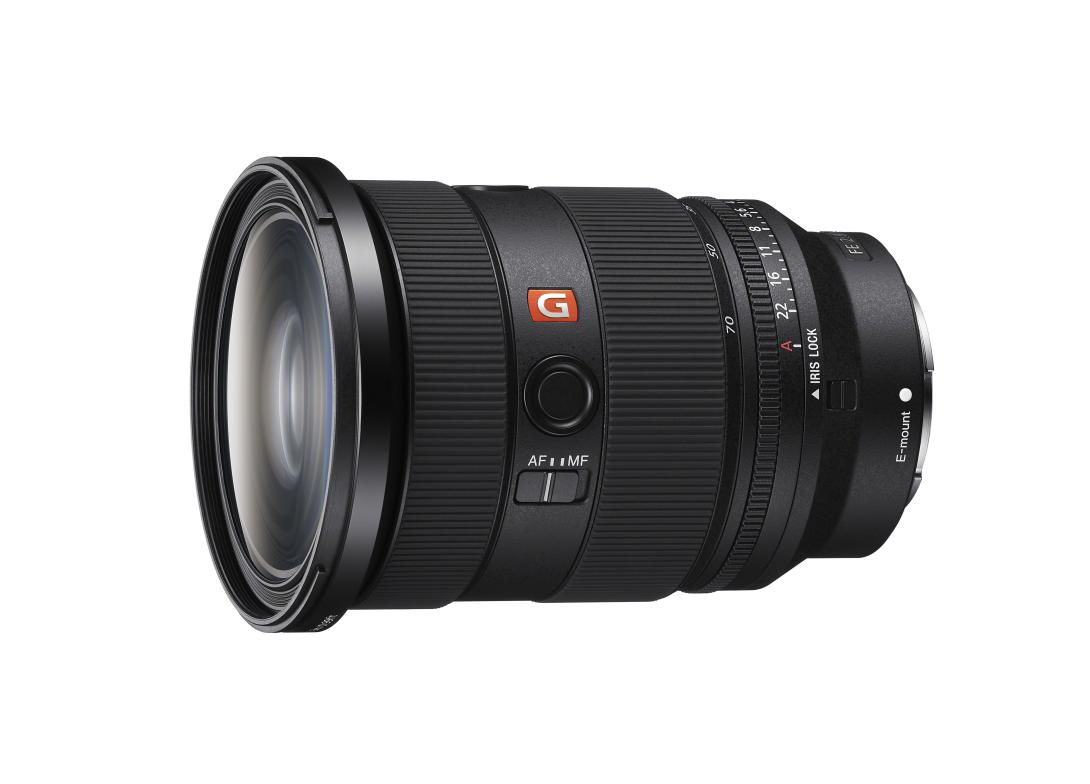
FE 24-70mm F2.8 GM II
-
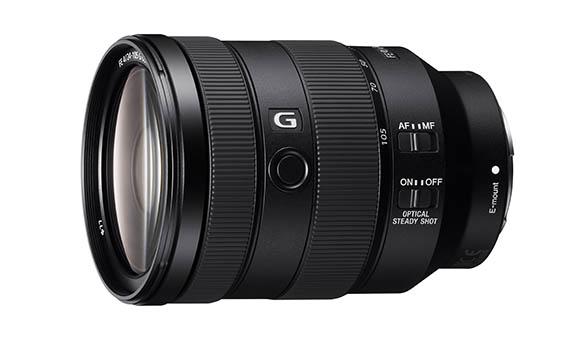
FE 24-105mm F4 G OSS
Safety precautions
As thrilling as lightning photography may be, there are risks that come with chasing storms. Darren prefers to shoot under shelter in the corridors of HDB flats to keep himself and his gear dry.
“Even though Alpha cameras and Sony lenses are weather sealed, I try to photograph only under shelter so that my equipment won’t get wet,” the photographer shared. “If rain gets on the filter of my lens or the front element, my image quality will be affected.”
Staying a safe distance away also allows you to get better images. According to Darren, the best time to photograph lightning is when it strikes afar. When it strikes overhead, there is little chance of getting good shots. The chances of rain coming down are also lower when you are shooting from a distance.
Three quick-fire hacks for beginners
- Keep an eye out for foreground interest
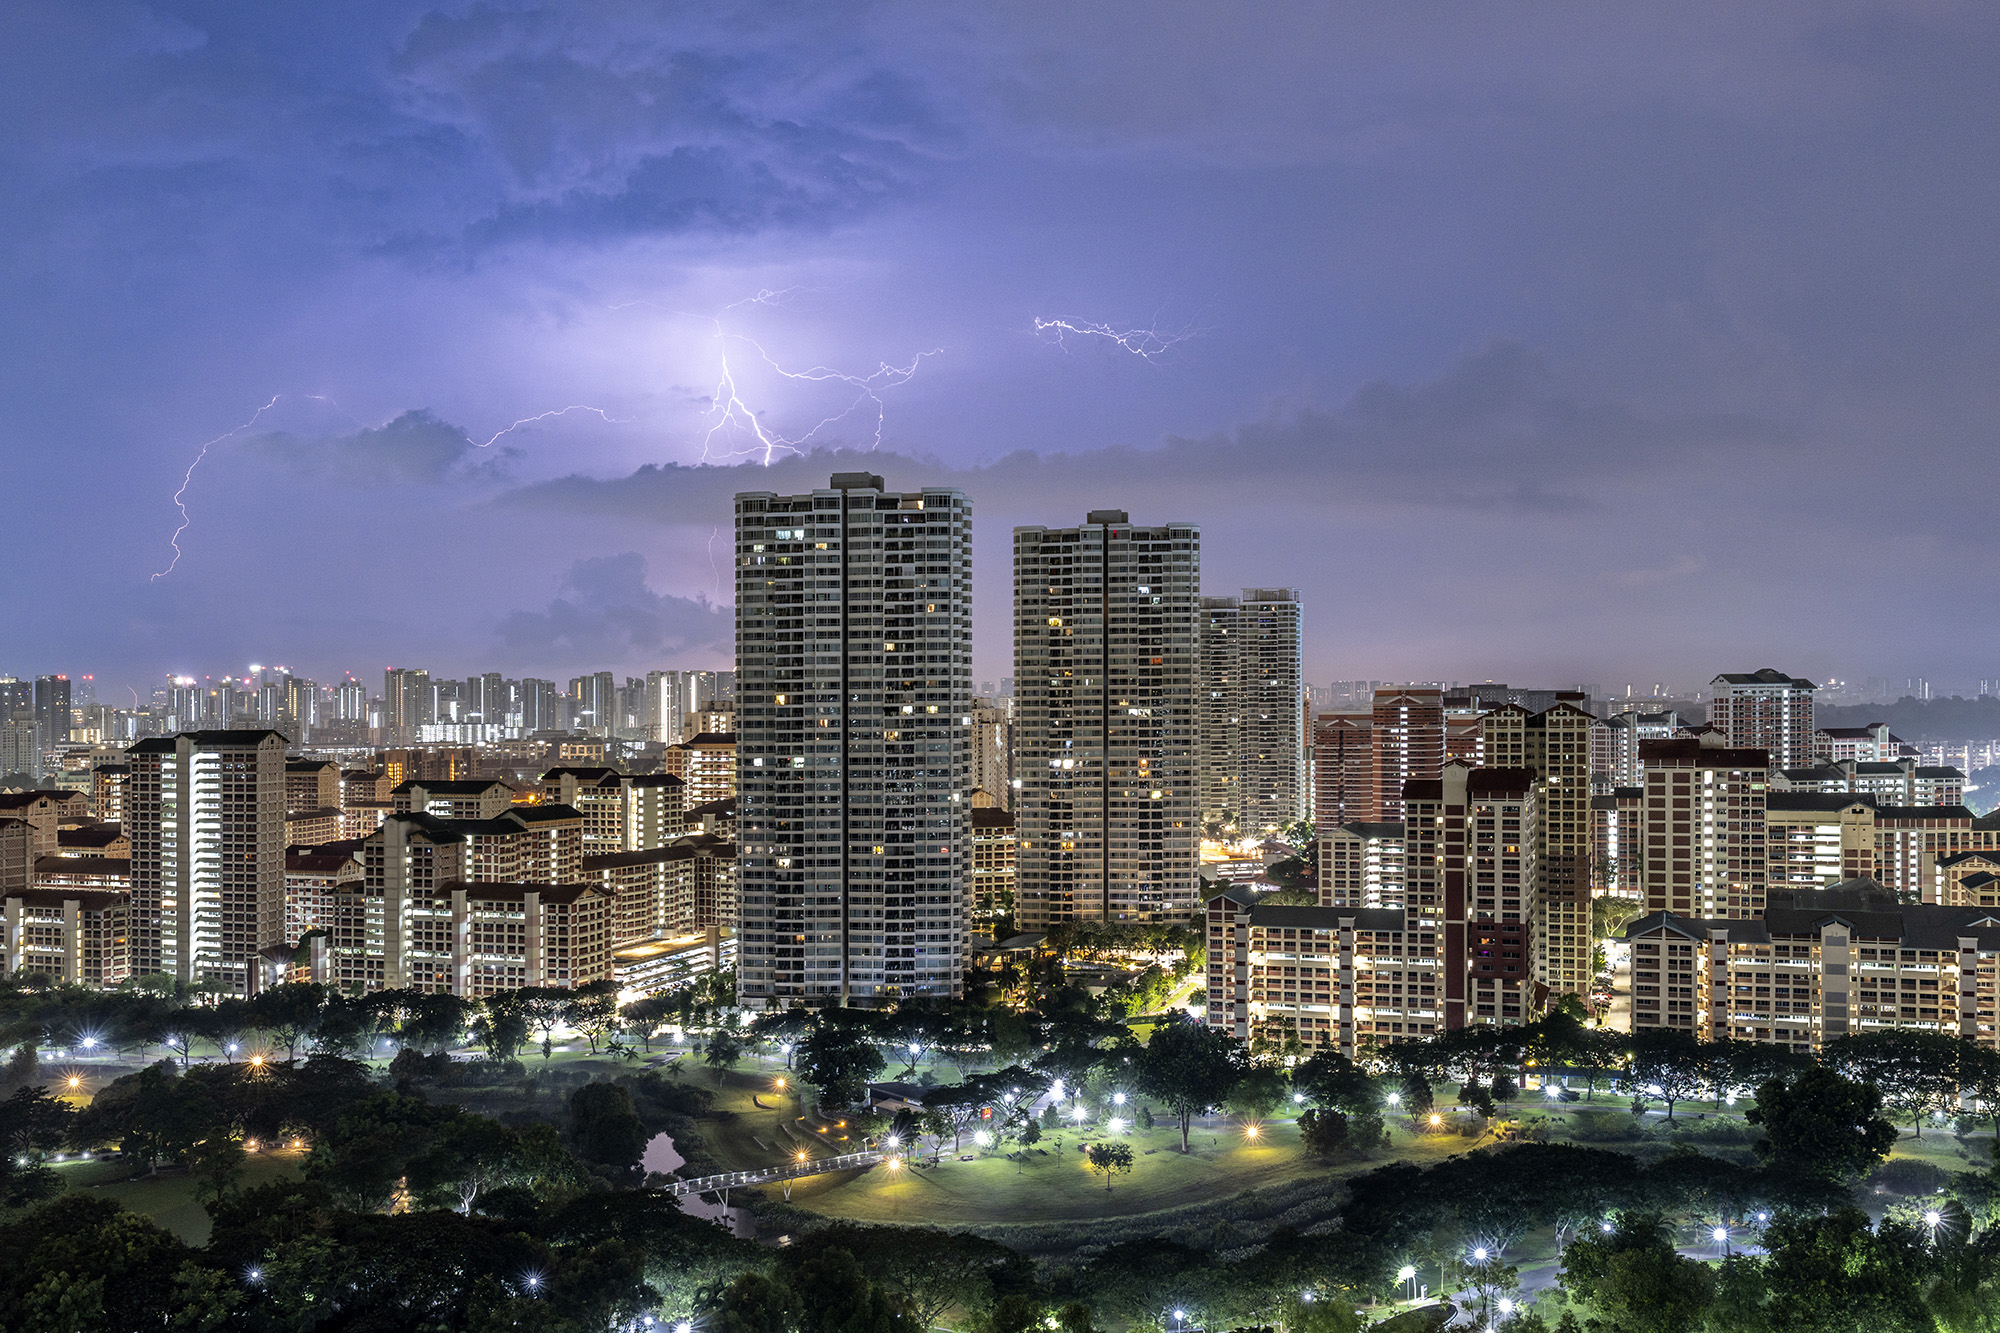
Foreground interests, such as buildings or landmarks within the frame, make your photo more visually appealing compared to plain walls of lightning. That way, your audience can better appreciate the landscape.
-
Track the storm
Storms are highly unpredictable and can shift directions suddenly or fizzle out just as you have finished setting up. In Singapore’s context, Darren recommends checking the myENV app by the National Environmental Agency as it shows the number and locations of lightning strikes in real time.
“I advise beginners to have a lot of patience when it comes to lightning photography as there will be more misses than hits even if you can get yourself to the right vantage point,” he said.
-
Find your tribe
Last but not least, Darren advises aspiring lightning photographers to join support groups online with like-minded enthusiasts as they can alert you to the sighting of storms and lightning strikes, allowing you to get into position as quickly as possible. After all, there is nothing like a community to support and encourage you on your journey to capturing better photos.
