Understanding Aperture, Shutter and ISO
Article Categories

Understanding how aperture, shutter speed, and ISO work allows photographers to take complete control of the scene by manipulating the camera manually.
Aperture
Aperture is a hole in a lens that allows light to pass through and into the camera body. The larger the hole, the more light passes to the camera sensor. The depth of field, or the portion of a scene that appears sharp, is also controlled by the aperture.
Shutter speed
Shutter speed refers to the amount of time a camera shutter is open to expose light to the camera sensor. It is usually measured in fractions of a second when they are under a second.
ISO
ISO is your camera's sensitivity to light. It is a way to brighten your photos if you can’t use a longer shutter speed or a wider aperture and is typically measured in numbers.
The shutter, aperture and ISO functions of a camera form the ‘exposure triangle,’ and changing any one will affect your image’s exposure. By finding out the relationship between them, you can better control your camera even in the trickiest lighting conditions.
AUTO, MANUAL or priority mode
You can set your camera to control all three functions in AUTO mode so you don’t have to stress about constantly adjusting everything on the fly, or pick one that you want to prioritise thereby letting the camera adjust the remaining functions automatically. You can also choose to control all three in MANUAL mode.
Shutter controls motion
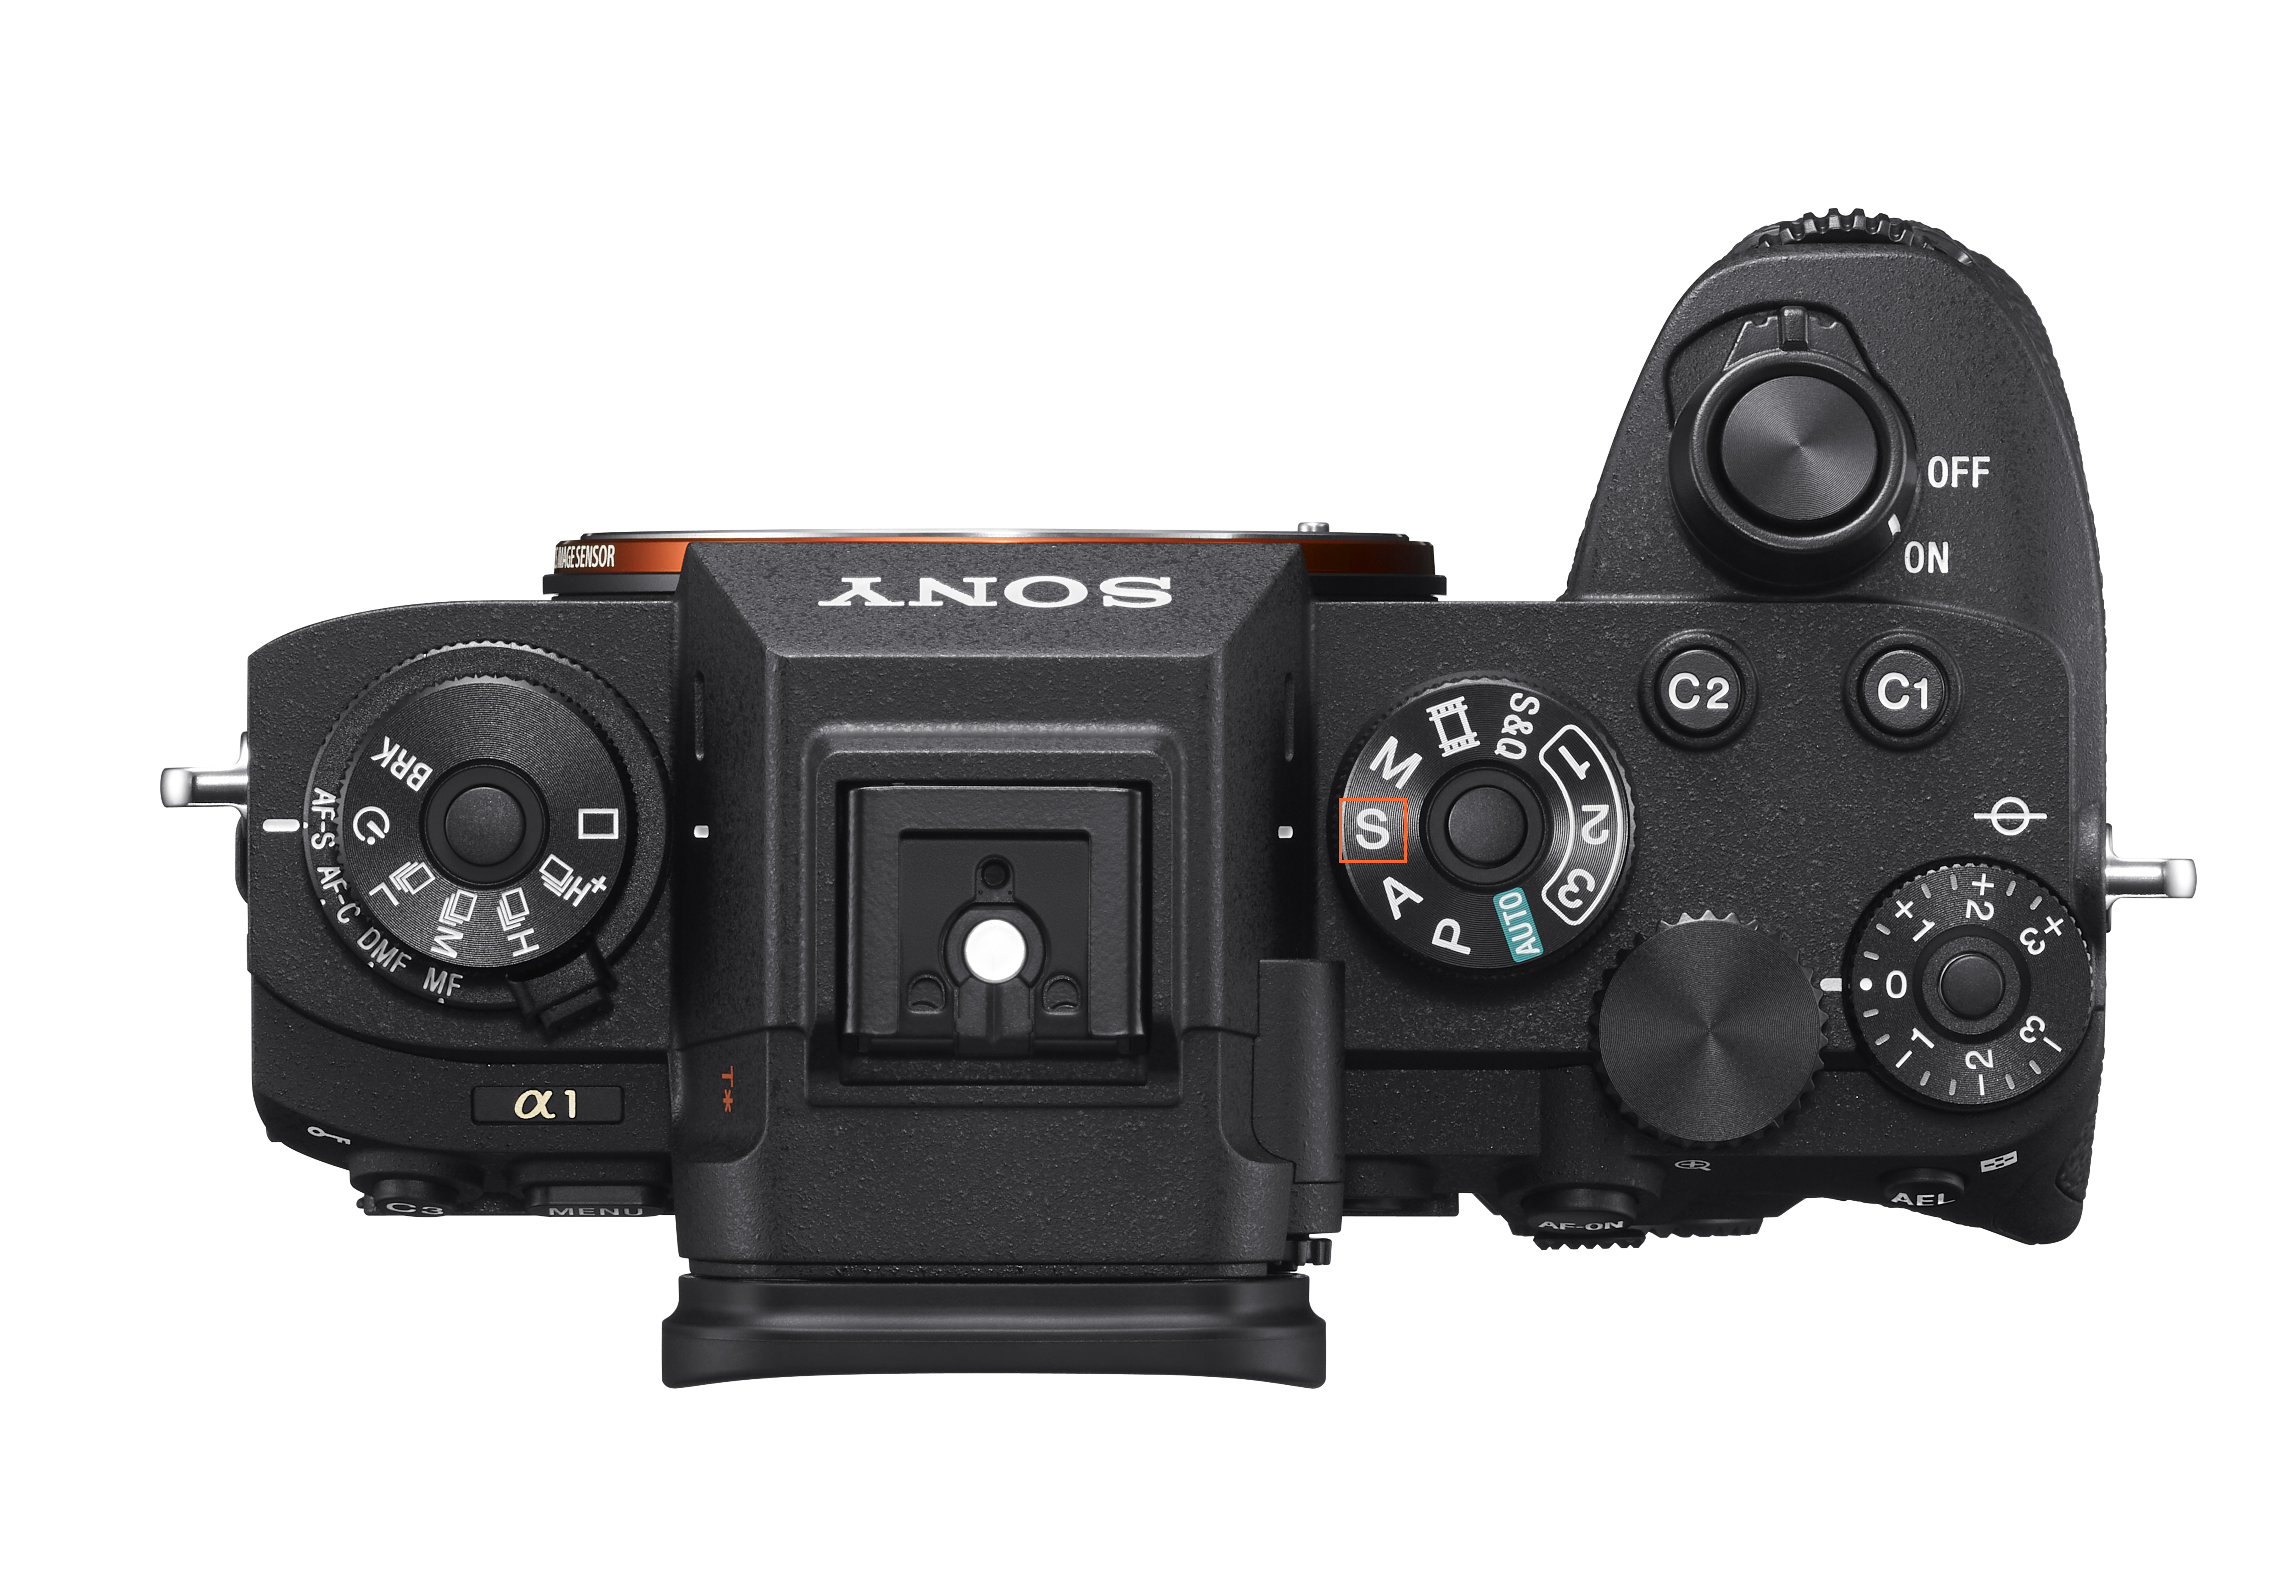
S - Shutter Priority mode can typically be found on your main control dial. Toggling this decides how long the shutters which allow light to pass through to the sensor to stay open. This is measured in fractions of a second, so a setting of 160 will have the shutter open for 1/160 of a second. In S mode, you choose how long the shutter opens for each picture, and the camera takes care of the rest.

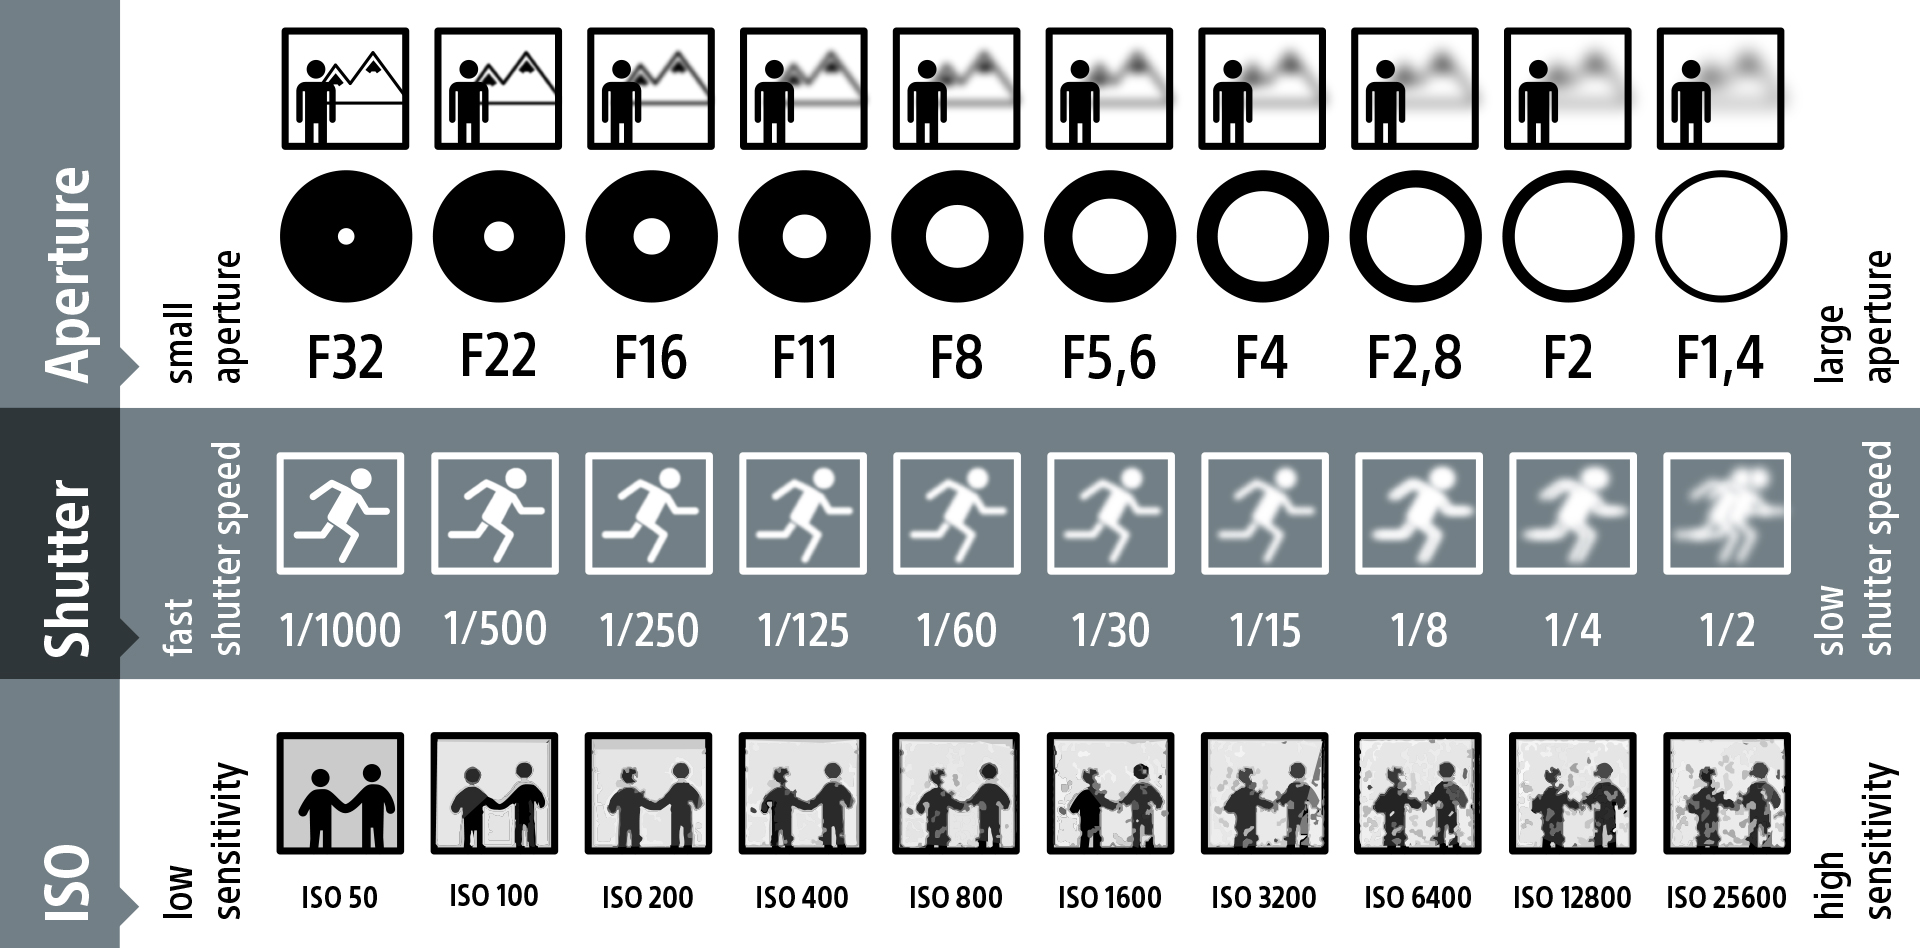
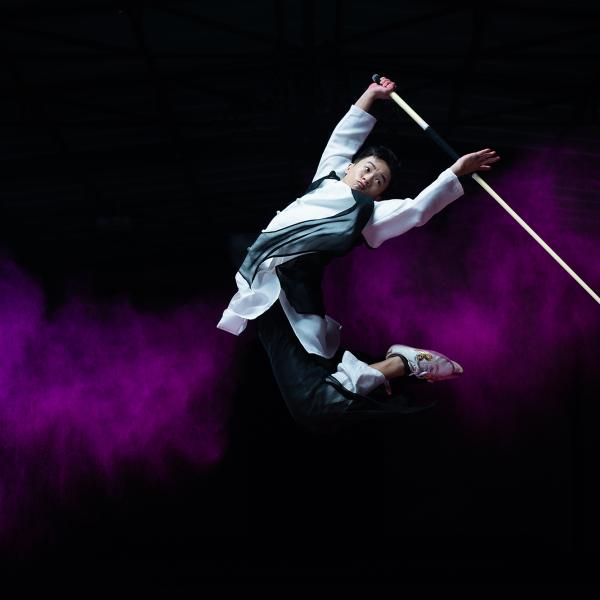
This lets you decide how much movement you want your picture to have. A slow shutter speed will have the parts of the subject that are moving slower than the shutter look blurred. Use slower settings to make running water look like it’s flowing like smoke. Conversely, a high setting will freeze the action - freeze those raindrops in mid-air!
Aperture is your focus
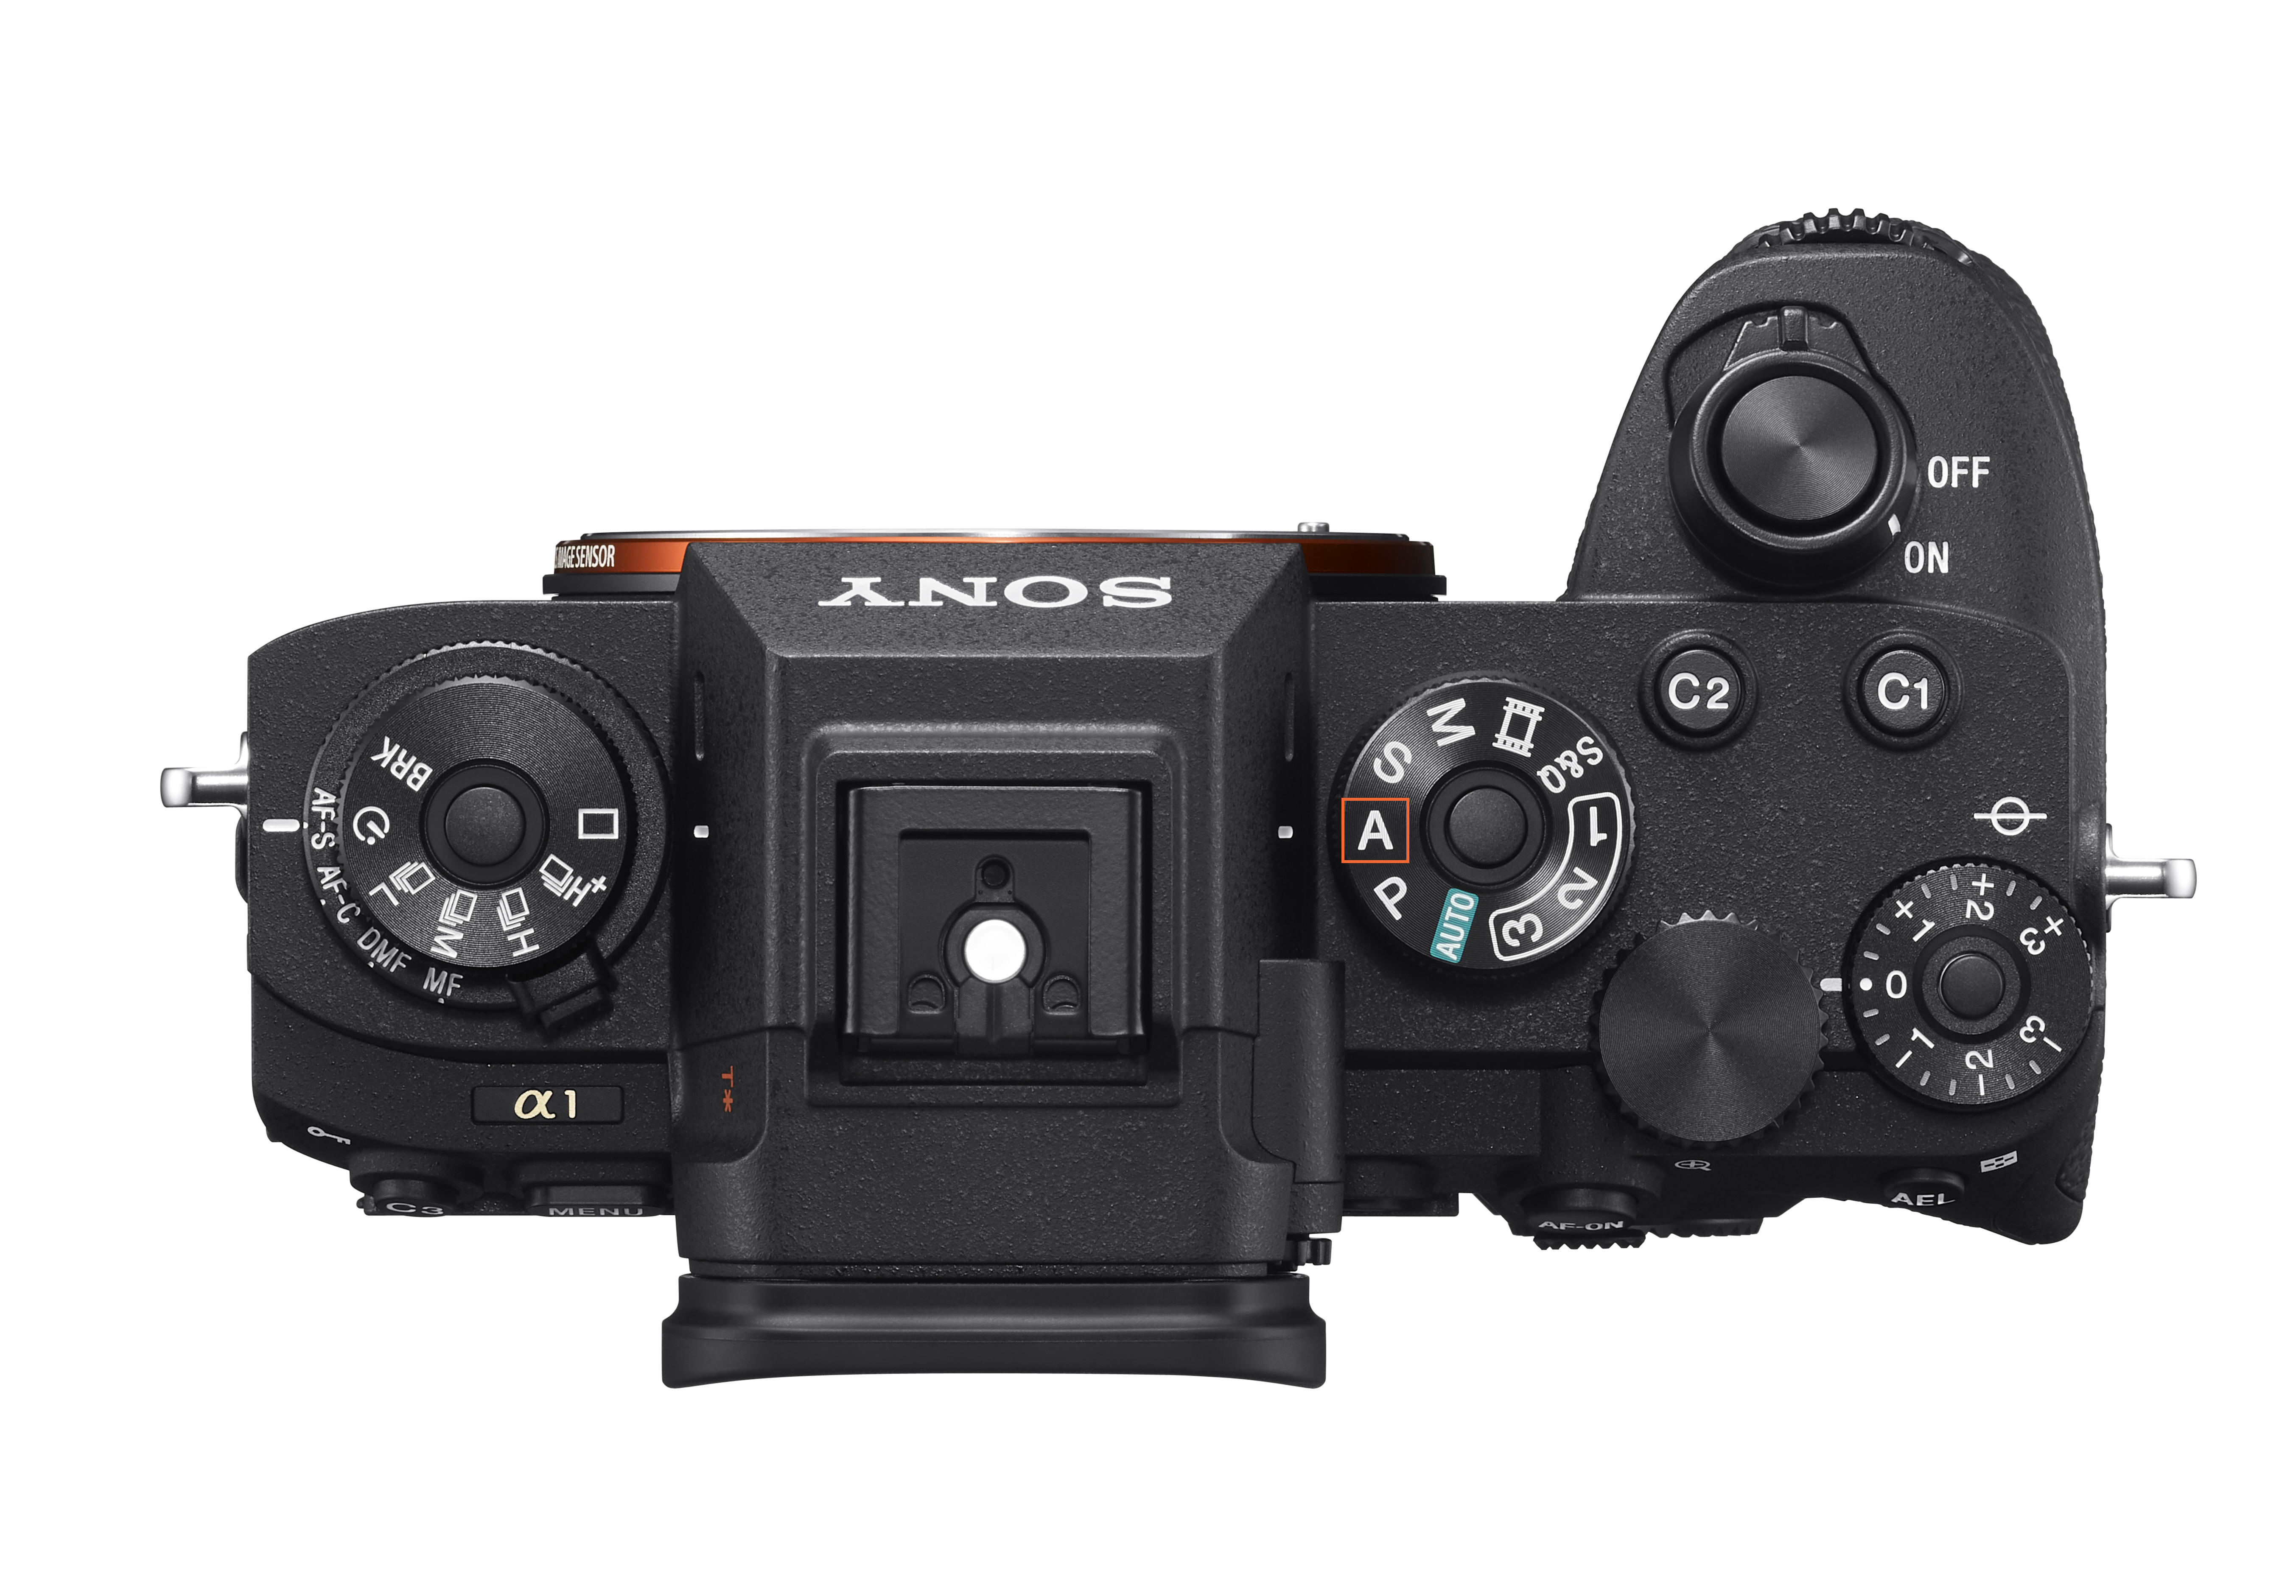
In A - Aperture Priority, you decide how big the window of light hitting the sensor will be, and the camera does the rest. Each step in the aperture value is called an F-stop.

Aperture controls the depth of field - the range of things that are in focus. Make a circle with your palm by curling your fingers, and look through that. Limiting your focus makes what you look at so much sharper. That’s your small F-stop value. For close-up portraits, you’ll want the aperture wide open, so a low value of F2.8 and below is ideal. To capture the full glory of a landscape or a crowd, you’ll want a narrow aperture, just like removing your hand and getting a full view. Usually, an F-stop of F8-F16 will give you the clearest image you’ll need but you can always experiment with a bigger aperture until you find your sweet spot.
ISO affects sensitivity to light
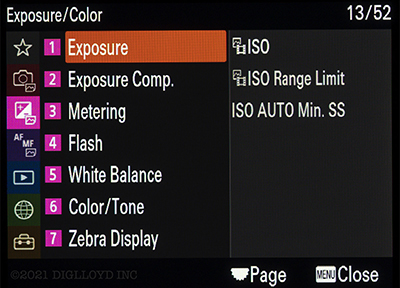
ISO settings take a little getting used to at first. In your camera menu, go to [Exposure/Color] → [Exposure] → [ISO]. You can assign a function button to change it easily later on.

A high ISO setting makes your photos appear brighter even when there is little ambient light. You might think having high sensitivity all the time couldn’t hurt - after all, it makes for easy exposure. While that is true, with a high ISO value, the sensor in your camera is sensitive to everything that comes in, and this extra sensitivity will cause graininess, or noise, in your picture. You can see the loss of detail in the examples above.
A lower ISO makes for better detail, but also makes it harder for you to get a well-exposed picture. A good general value to go with is 400. Lower it to 100 on bright sunny days, or 1600 and more in dark places.
Get outside and light it up
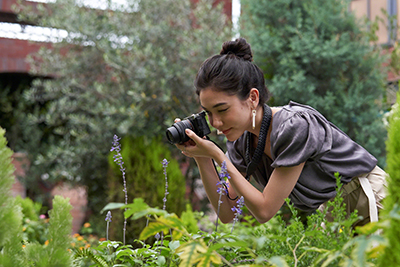
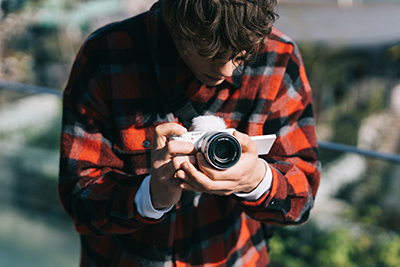
There’s no better teacher than experience. Whatever you like shooting - buildings, pictures, people or food, there’ll be an ideal combination of settings in the exposure triangle, and you’ll both remember them and learn how to adjust for situational changes as you keep shooting. Below is a quick chart that gives you an idea of how to control the aperture, shutter and ISO.
